This year for Halloween my kids decided it would be fun to dress up as various Avengers. Now, 6 costumes can end up being very costly, so I love to go the homemade route. I am no professional seamstress by any means, and I don’t really know how to follow a sewing pattern, so I just make it up as I go. My oldest daughter loves Black Panther, so here is my DIY Black Panther costume:
Finding a Base to Work From
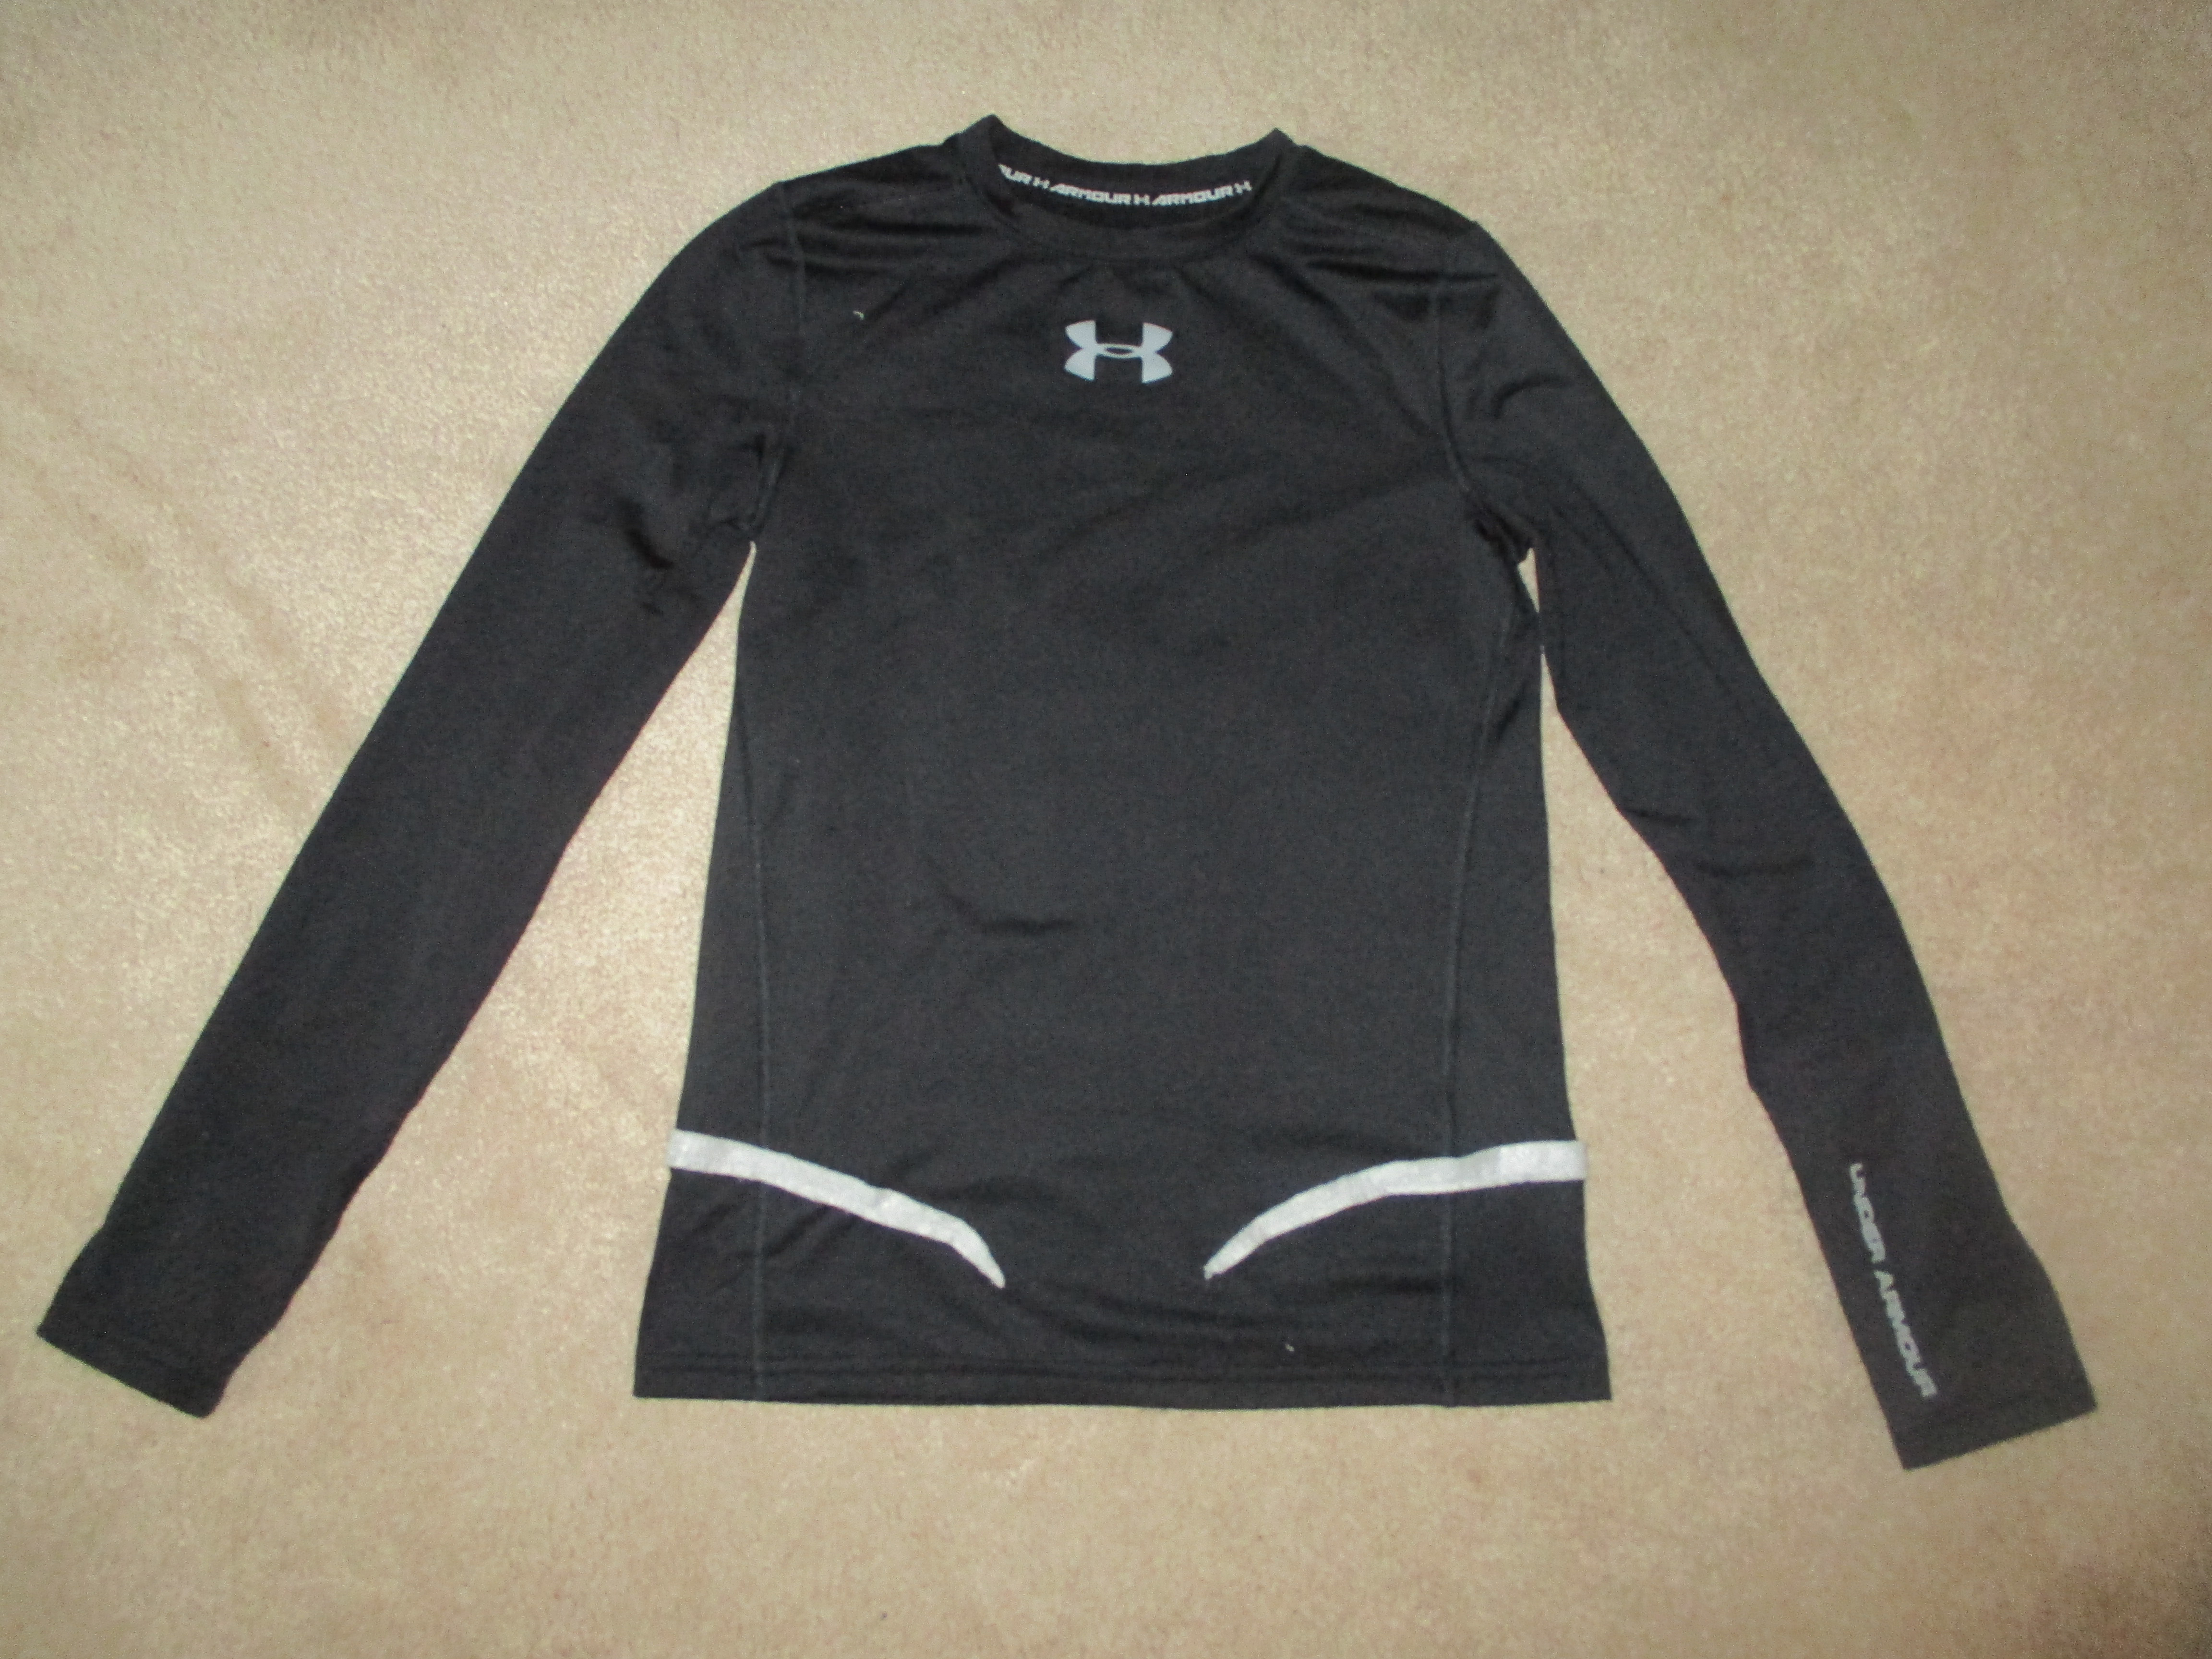
As with any costume, I find it helpful if I can find some base pieces to build from. We like to go thrift store shopping for this. This year we spent a total of $27 for 6 costumes, which was spent on the base pieces. For Black Panther, we only needed to buy a black long-sleeve shirt. We already had black leggings and black boots on hand.
DIY Black Panther Mask
The most important feature of this costume is the mask. Since I am a huge fan of papier-mâché, I figured it was time to try making a mask out of it. My daughter was willing to be my guinea pig on this one, which was great. If you don’t know how to make papier-mâché, I have a brief tutorial here.
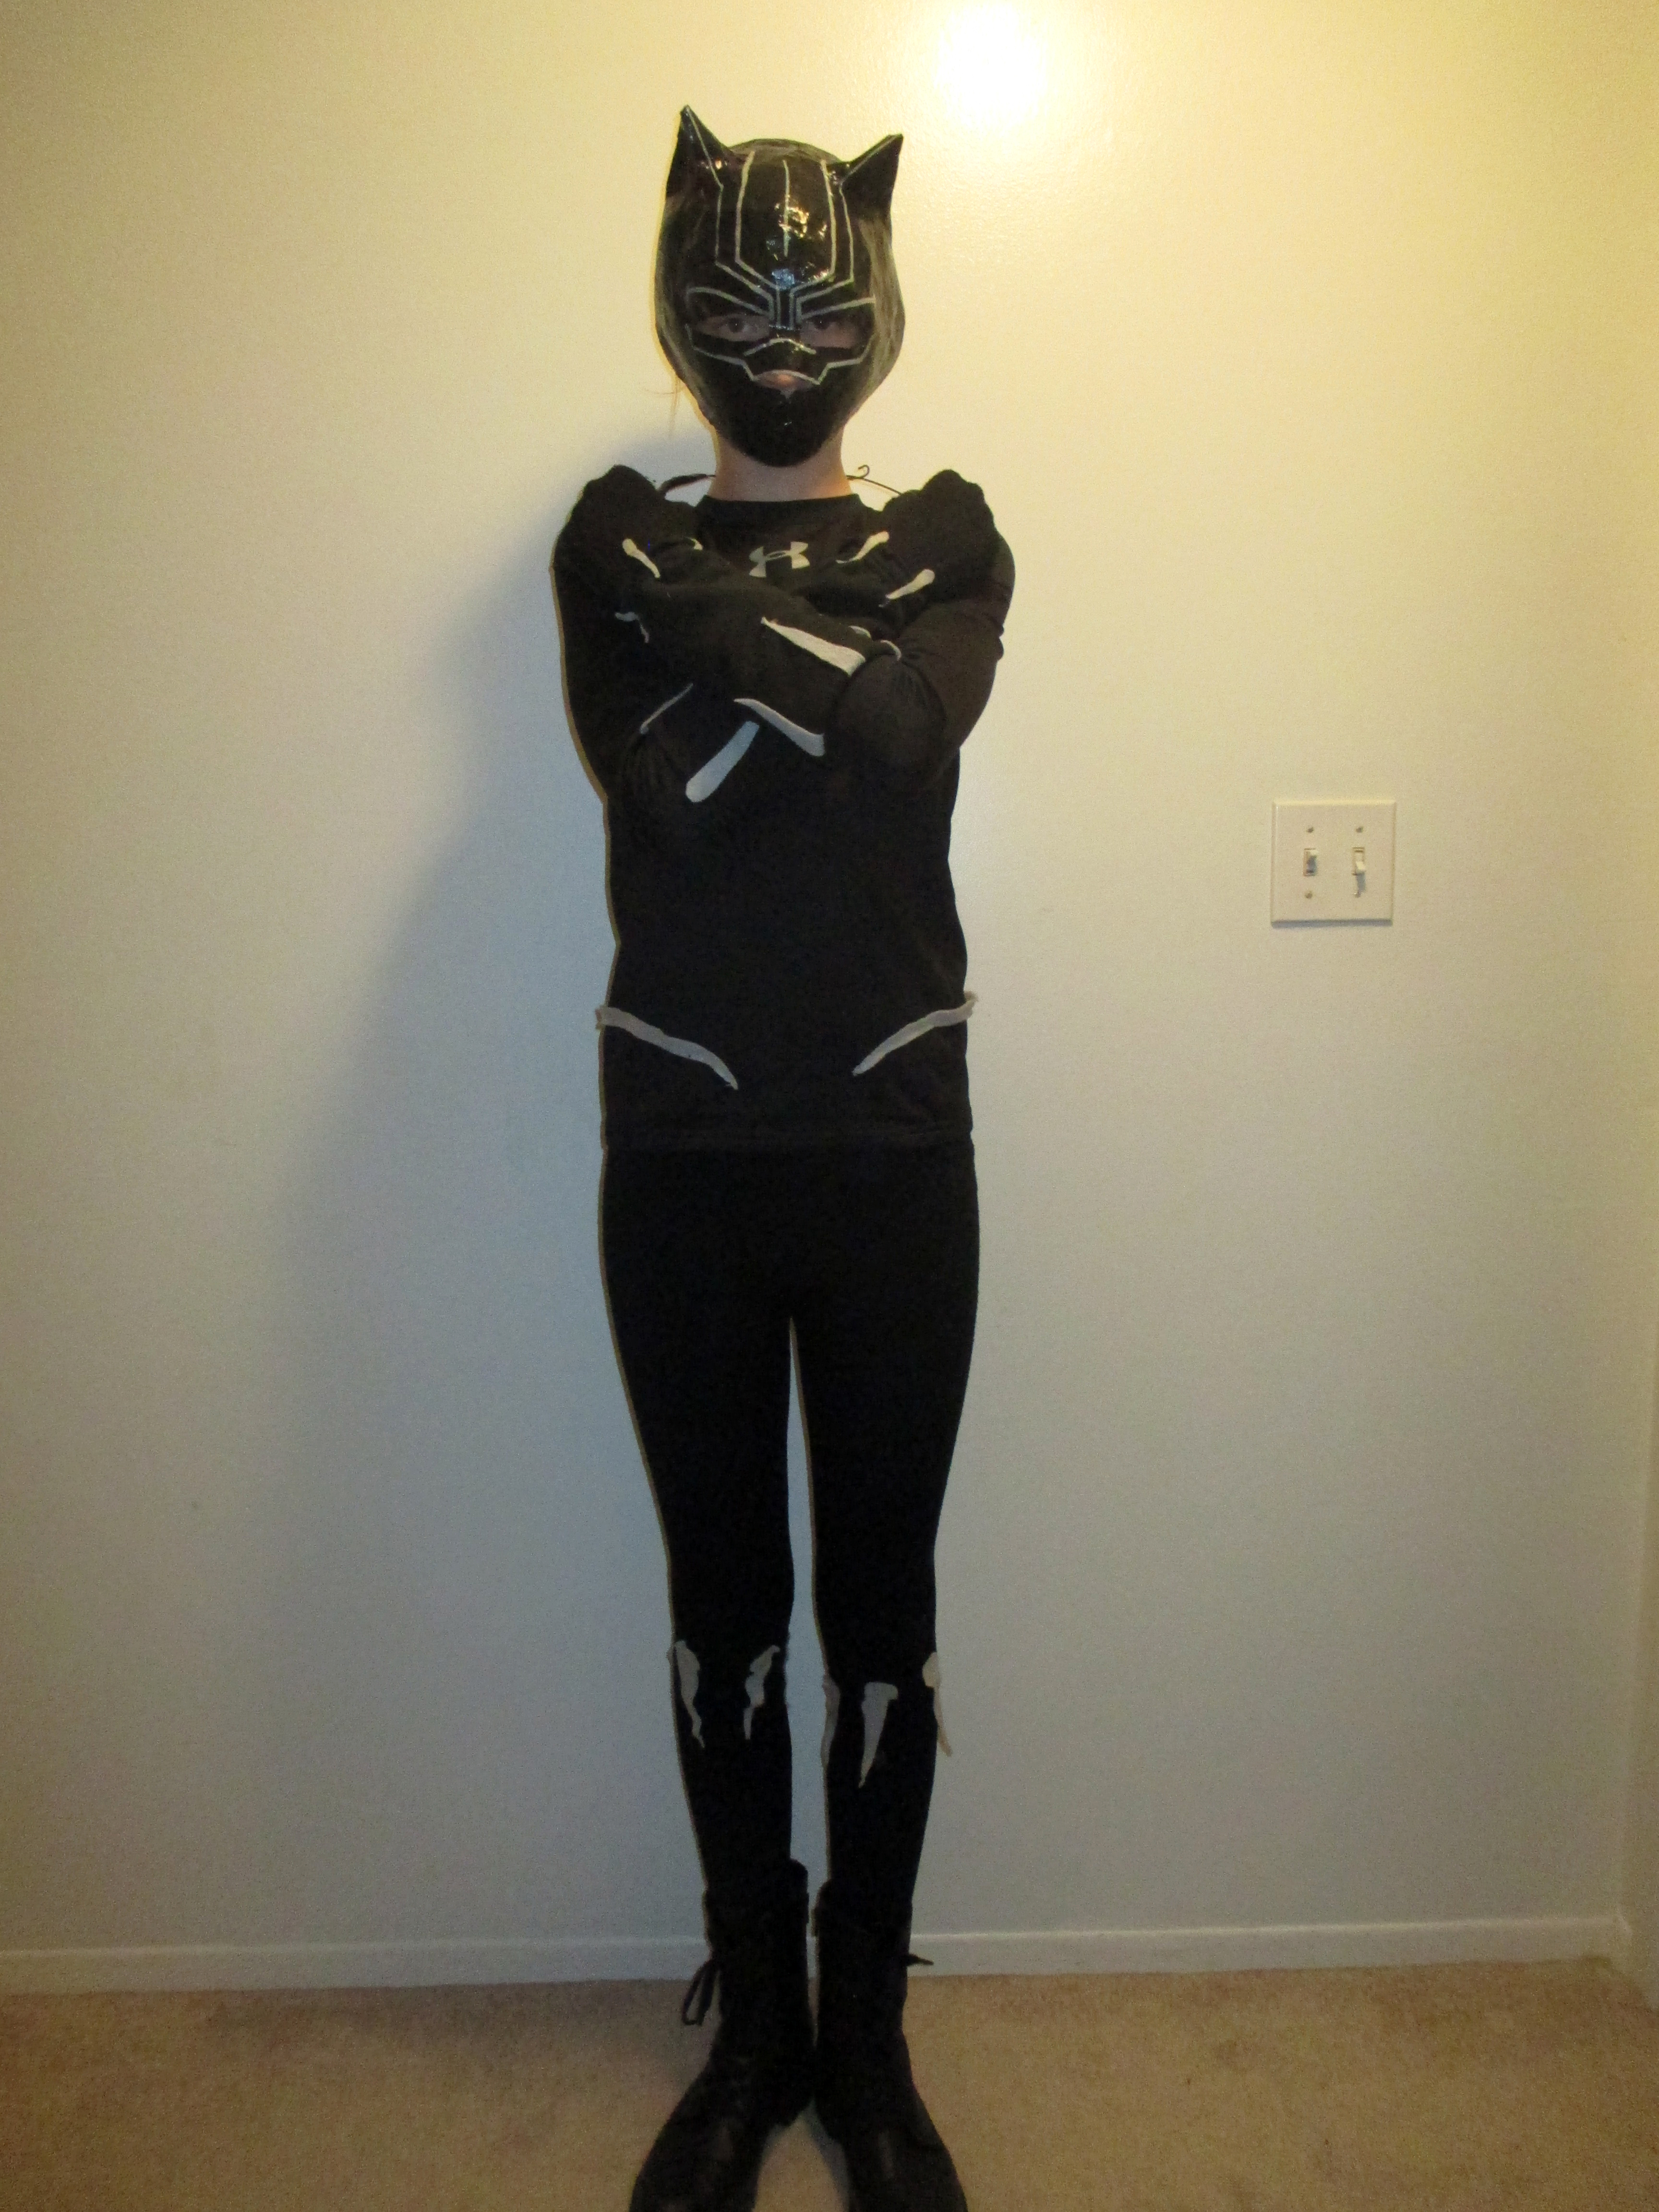
Based on this experience, I have found that it is easiest to have your model lie on the floor. That makes cleanup a lot easier. Put some cling wrap over the face, making a good-sized hole for her nose so she can breathe. It’s important to check in every so often throughout the process to make sure your model has no trouble breathing!
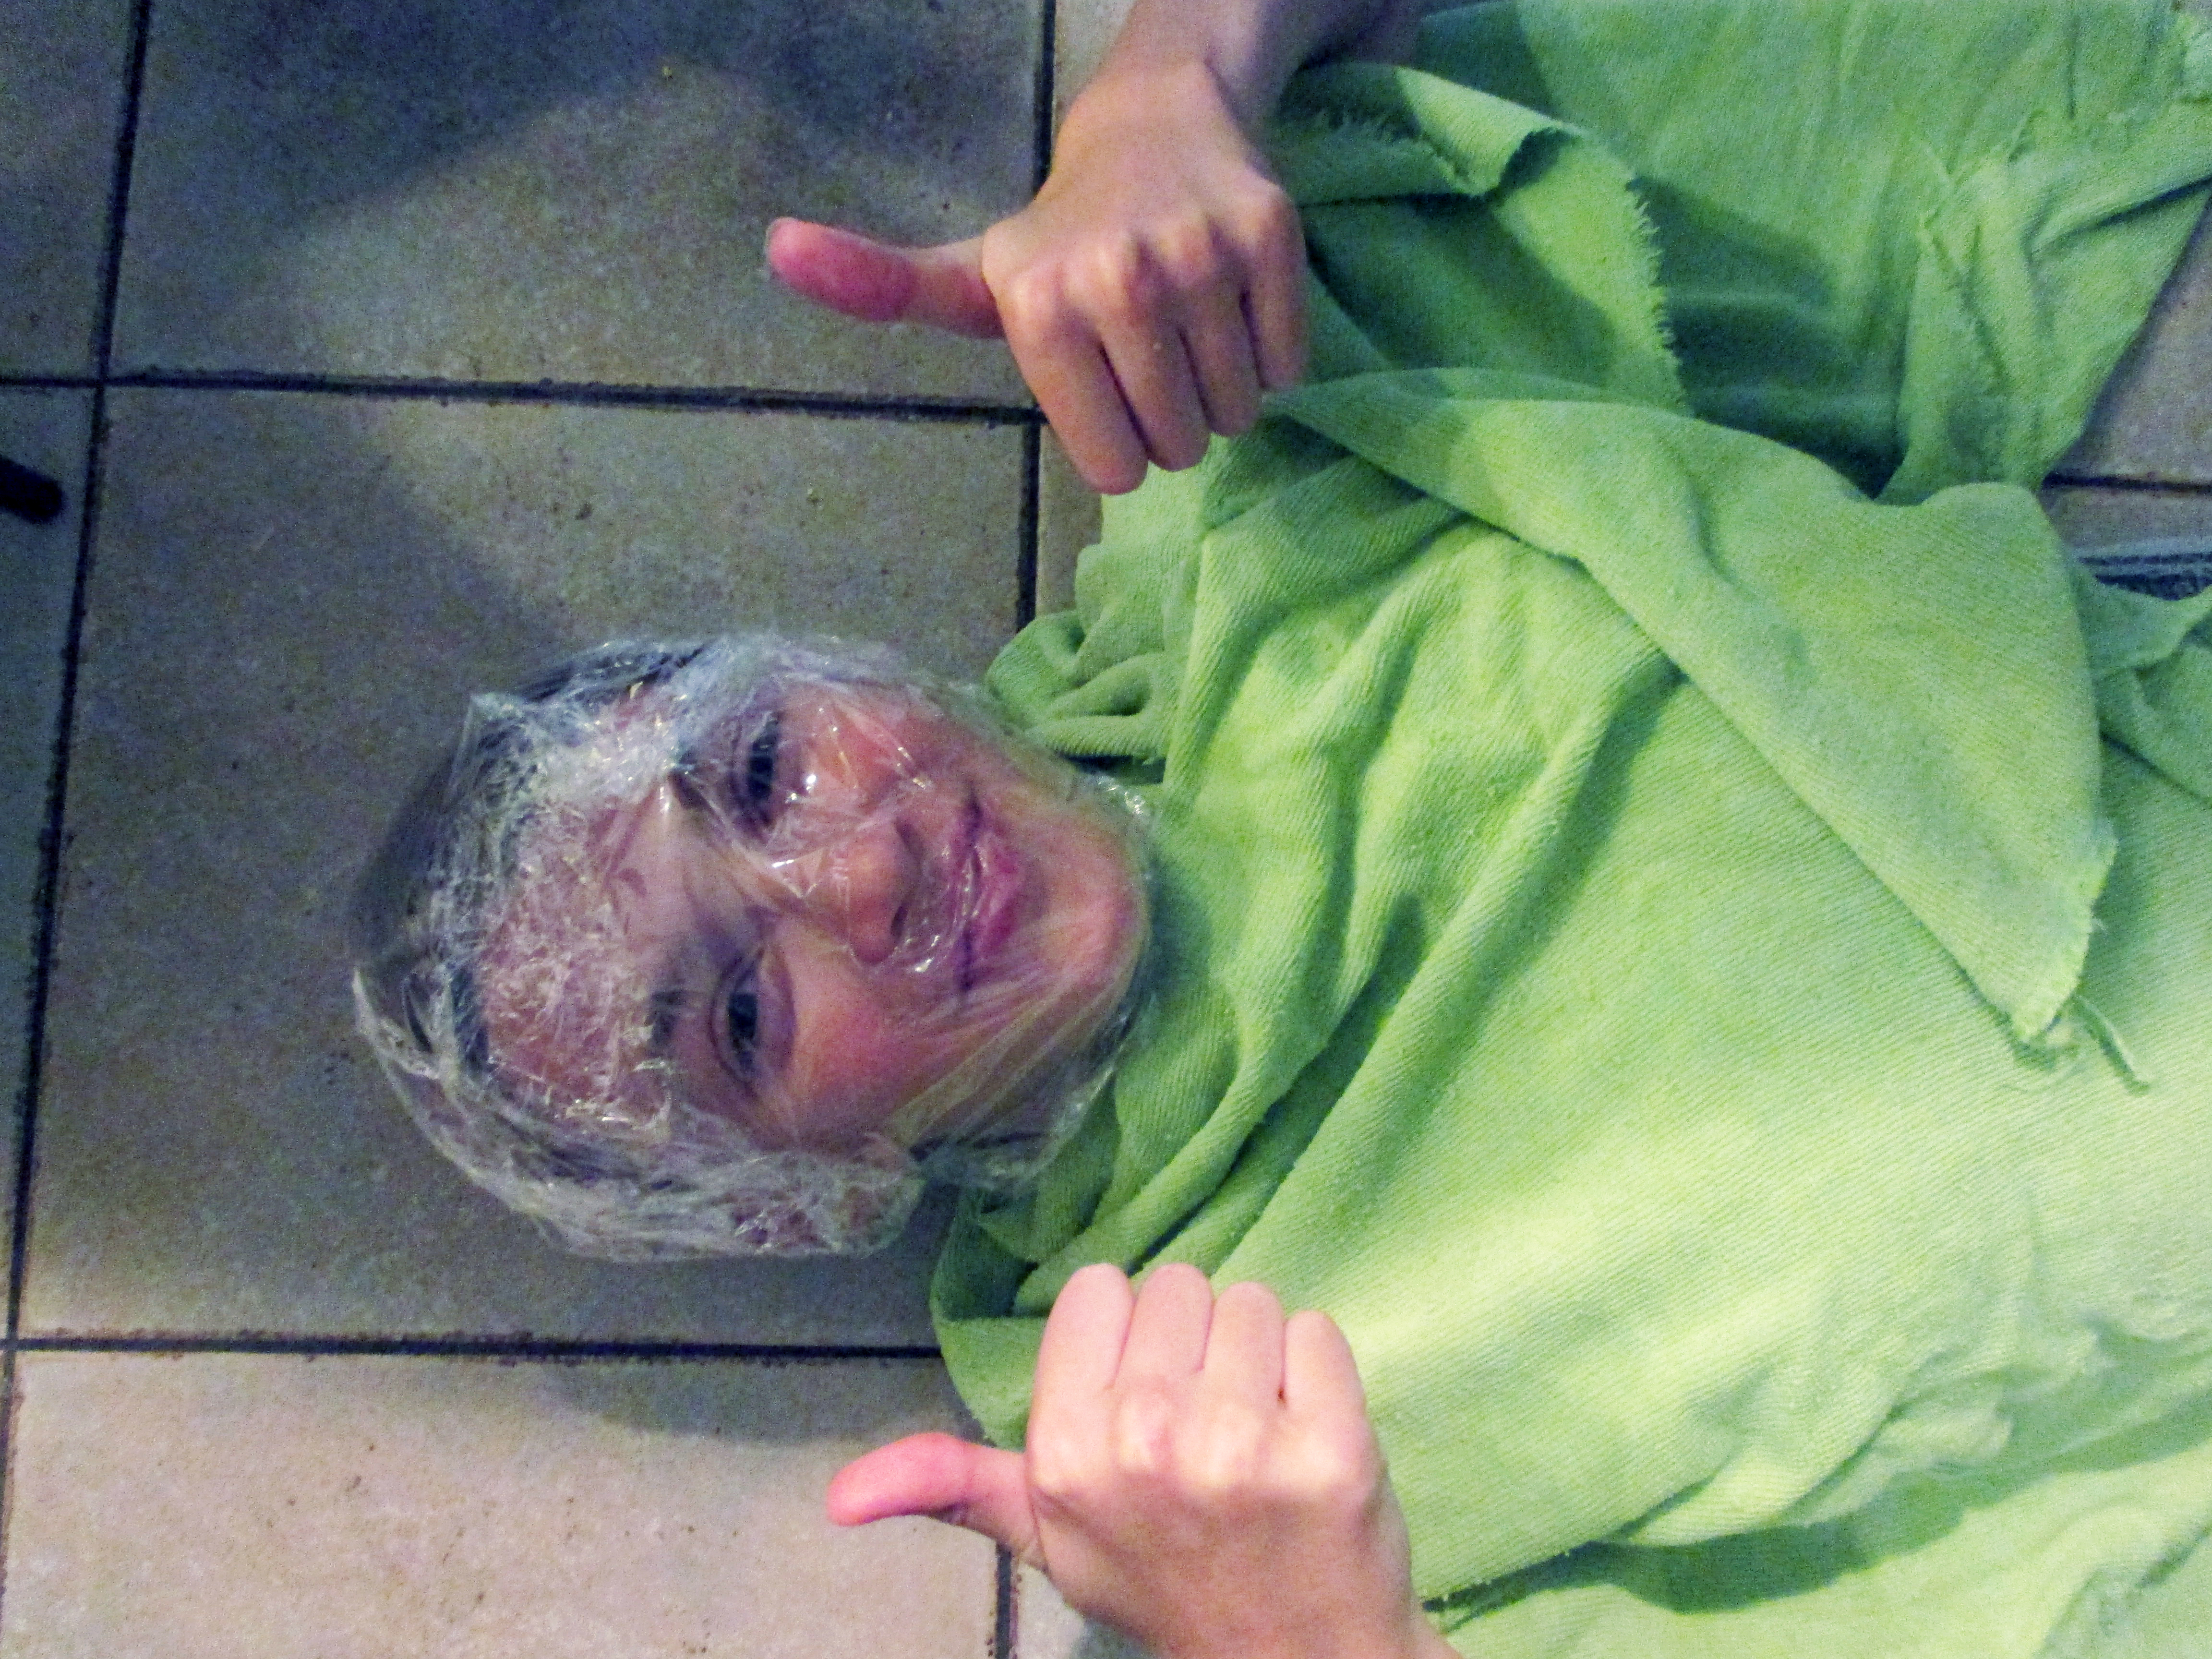
Working as quickly as possible, apply the newspaper strips. Don’t forget to put a towel around any clothing! I didn’t bother to cut holes for the eyes out of the cling wrap so that I didn’t have to worry about any of the glue going into her eyes. An important part of making this mask is making sure to papier-mâché enough over the top of the head so that the mask will stay on without anything needing to be added.
In order to help the mask maintain its shape, use a hairdryer on the low setting to partially dry the mask before removing it. Once the inner layer feels a bit sturdy, lift the mask off to let it finish drying.
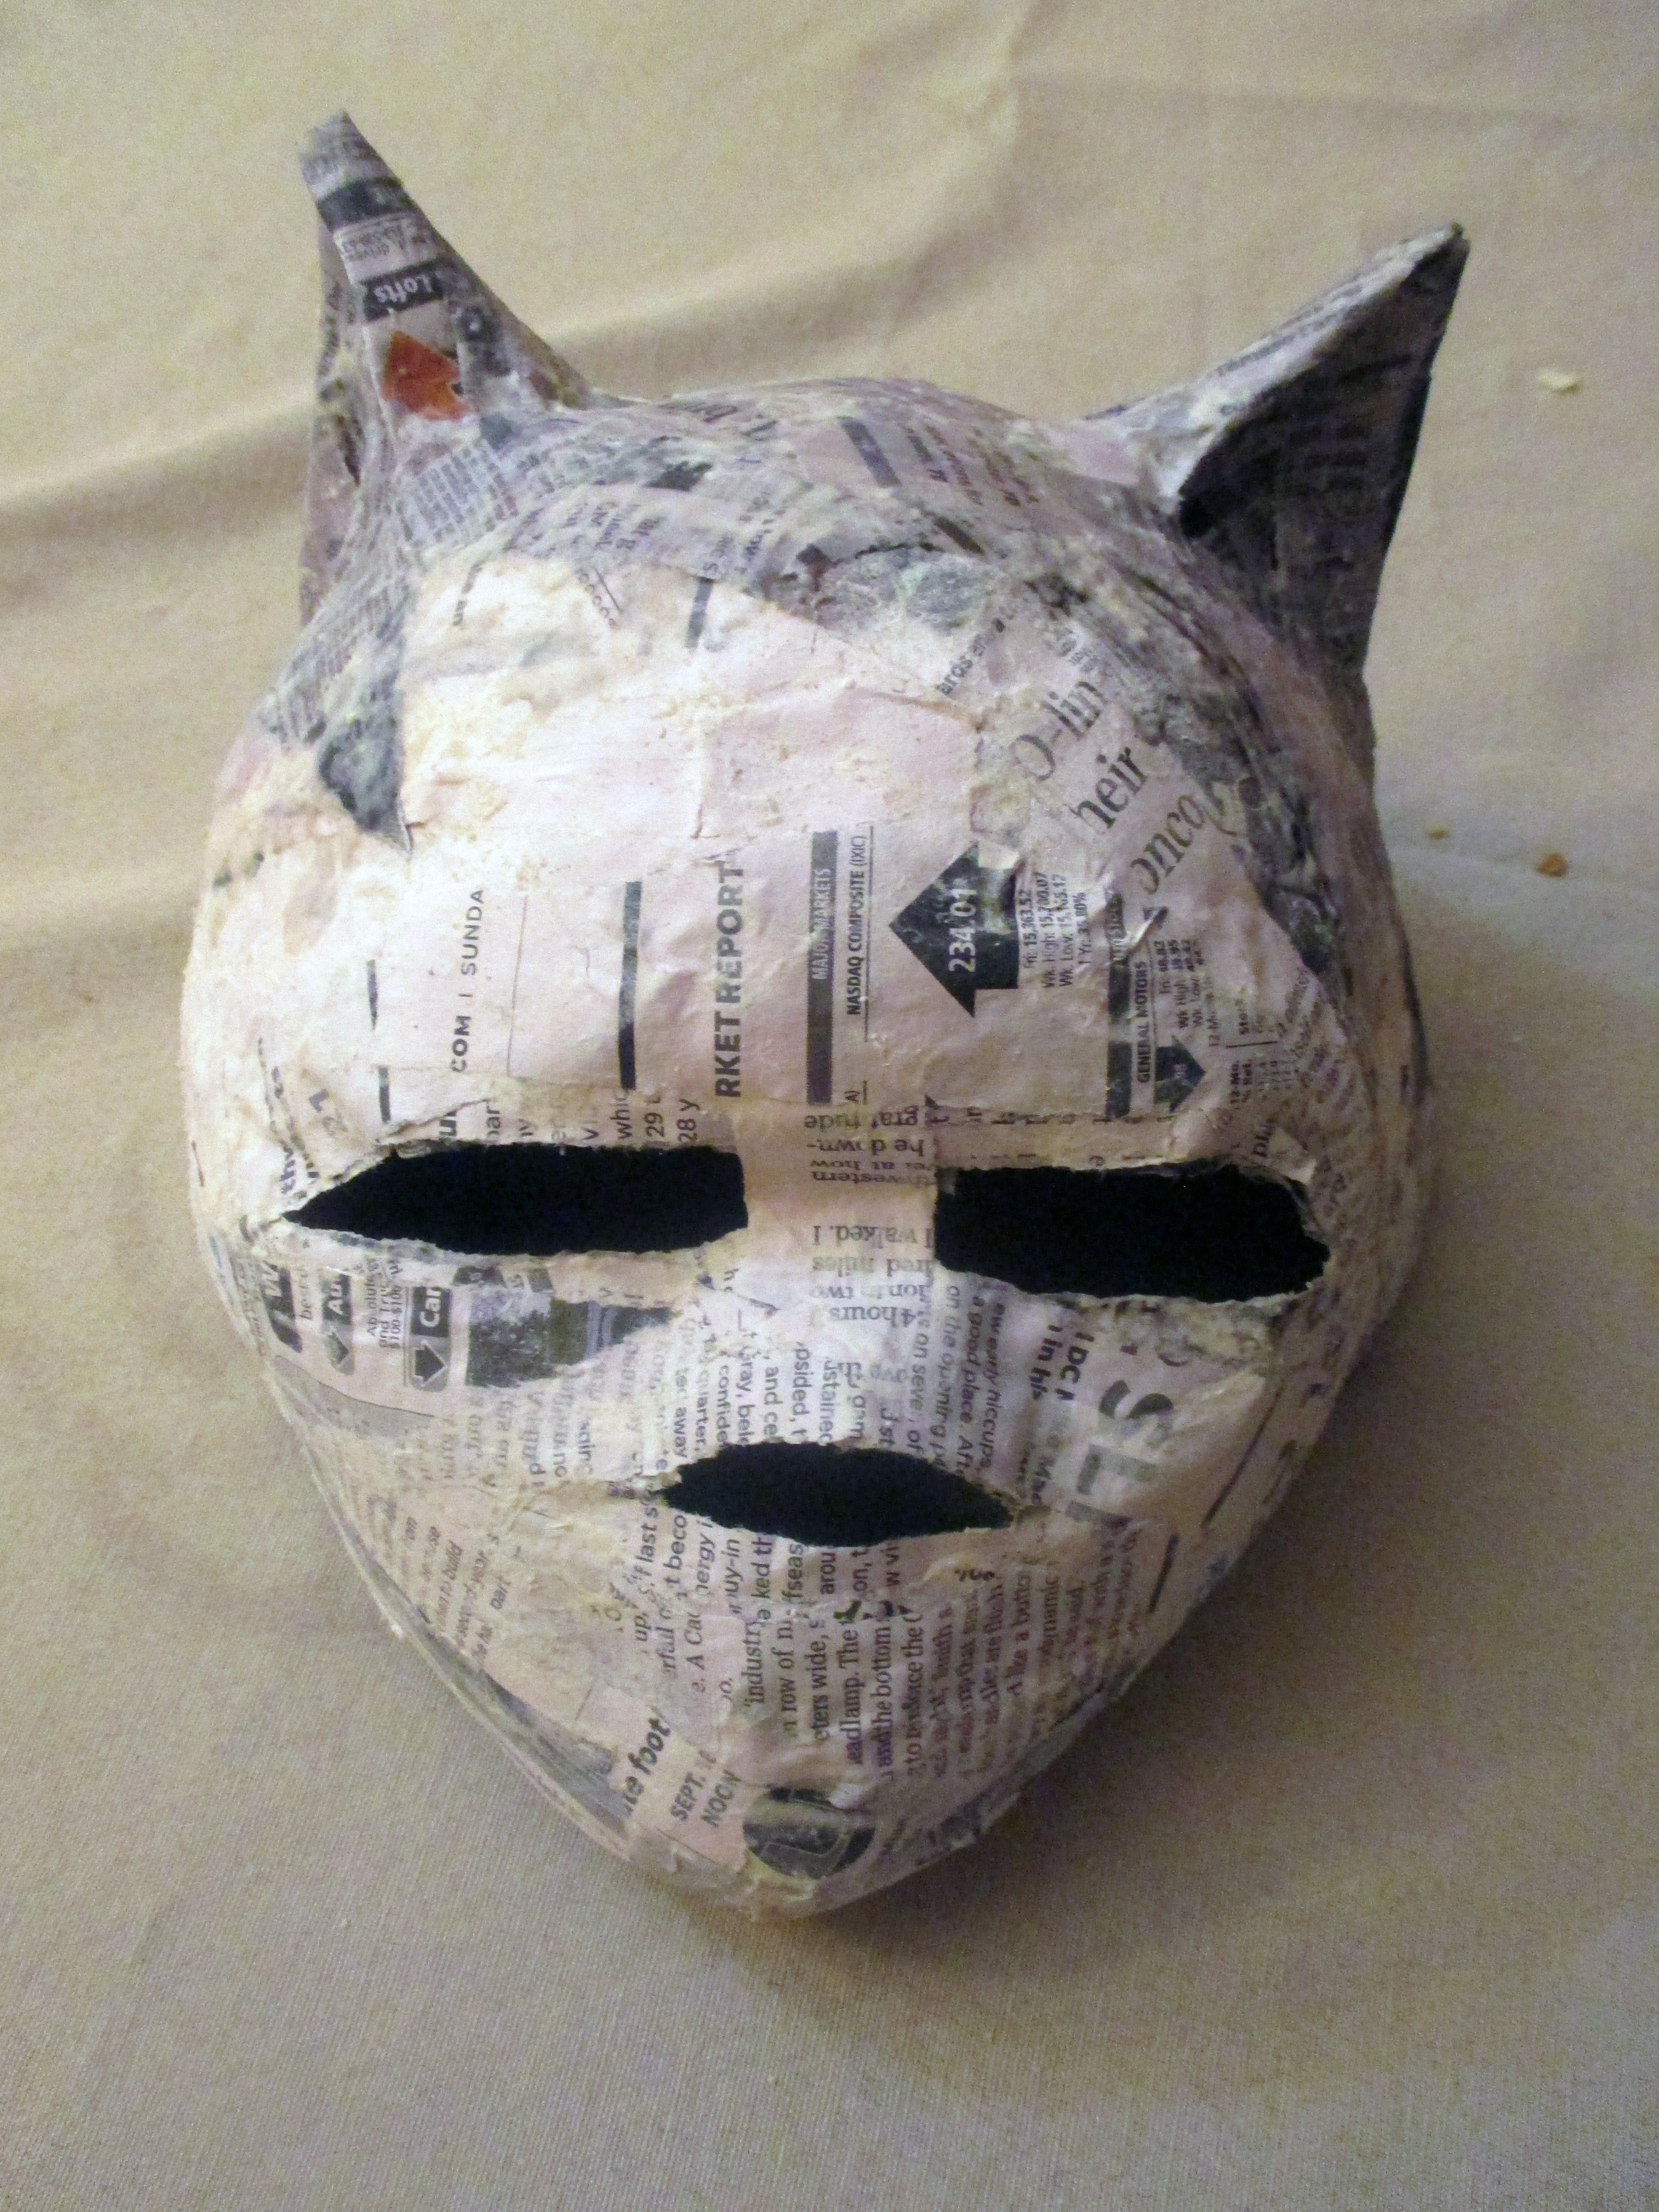
Once the mask is sufficiently dry, use more papier-mâché to add ears. Don’t worry about getting them perfectly even.

Once the mask is completely dry, it’s decorating time! Feel free to google some pictures to help figure out the designs you need to paint. Then use acrylic paints to bring this baby to life. I highly recommend finishing it off with some varnish, so there won’t be any chipping of paint, and to protect it from Mother Nature.
Black Panther Gloves
For the gloves, you need 3 main elements: a pair of black gloves (you can get these at the dollar store during the fall/winter), black fabric (I like fleece), and a piece of elastic. Make sure the piece of fabric is long enough to reach to about the elbow, and make sure it is cut wide enough to wrap around the arm.
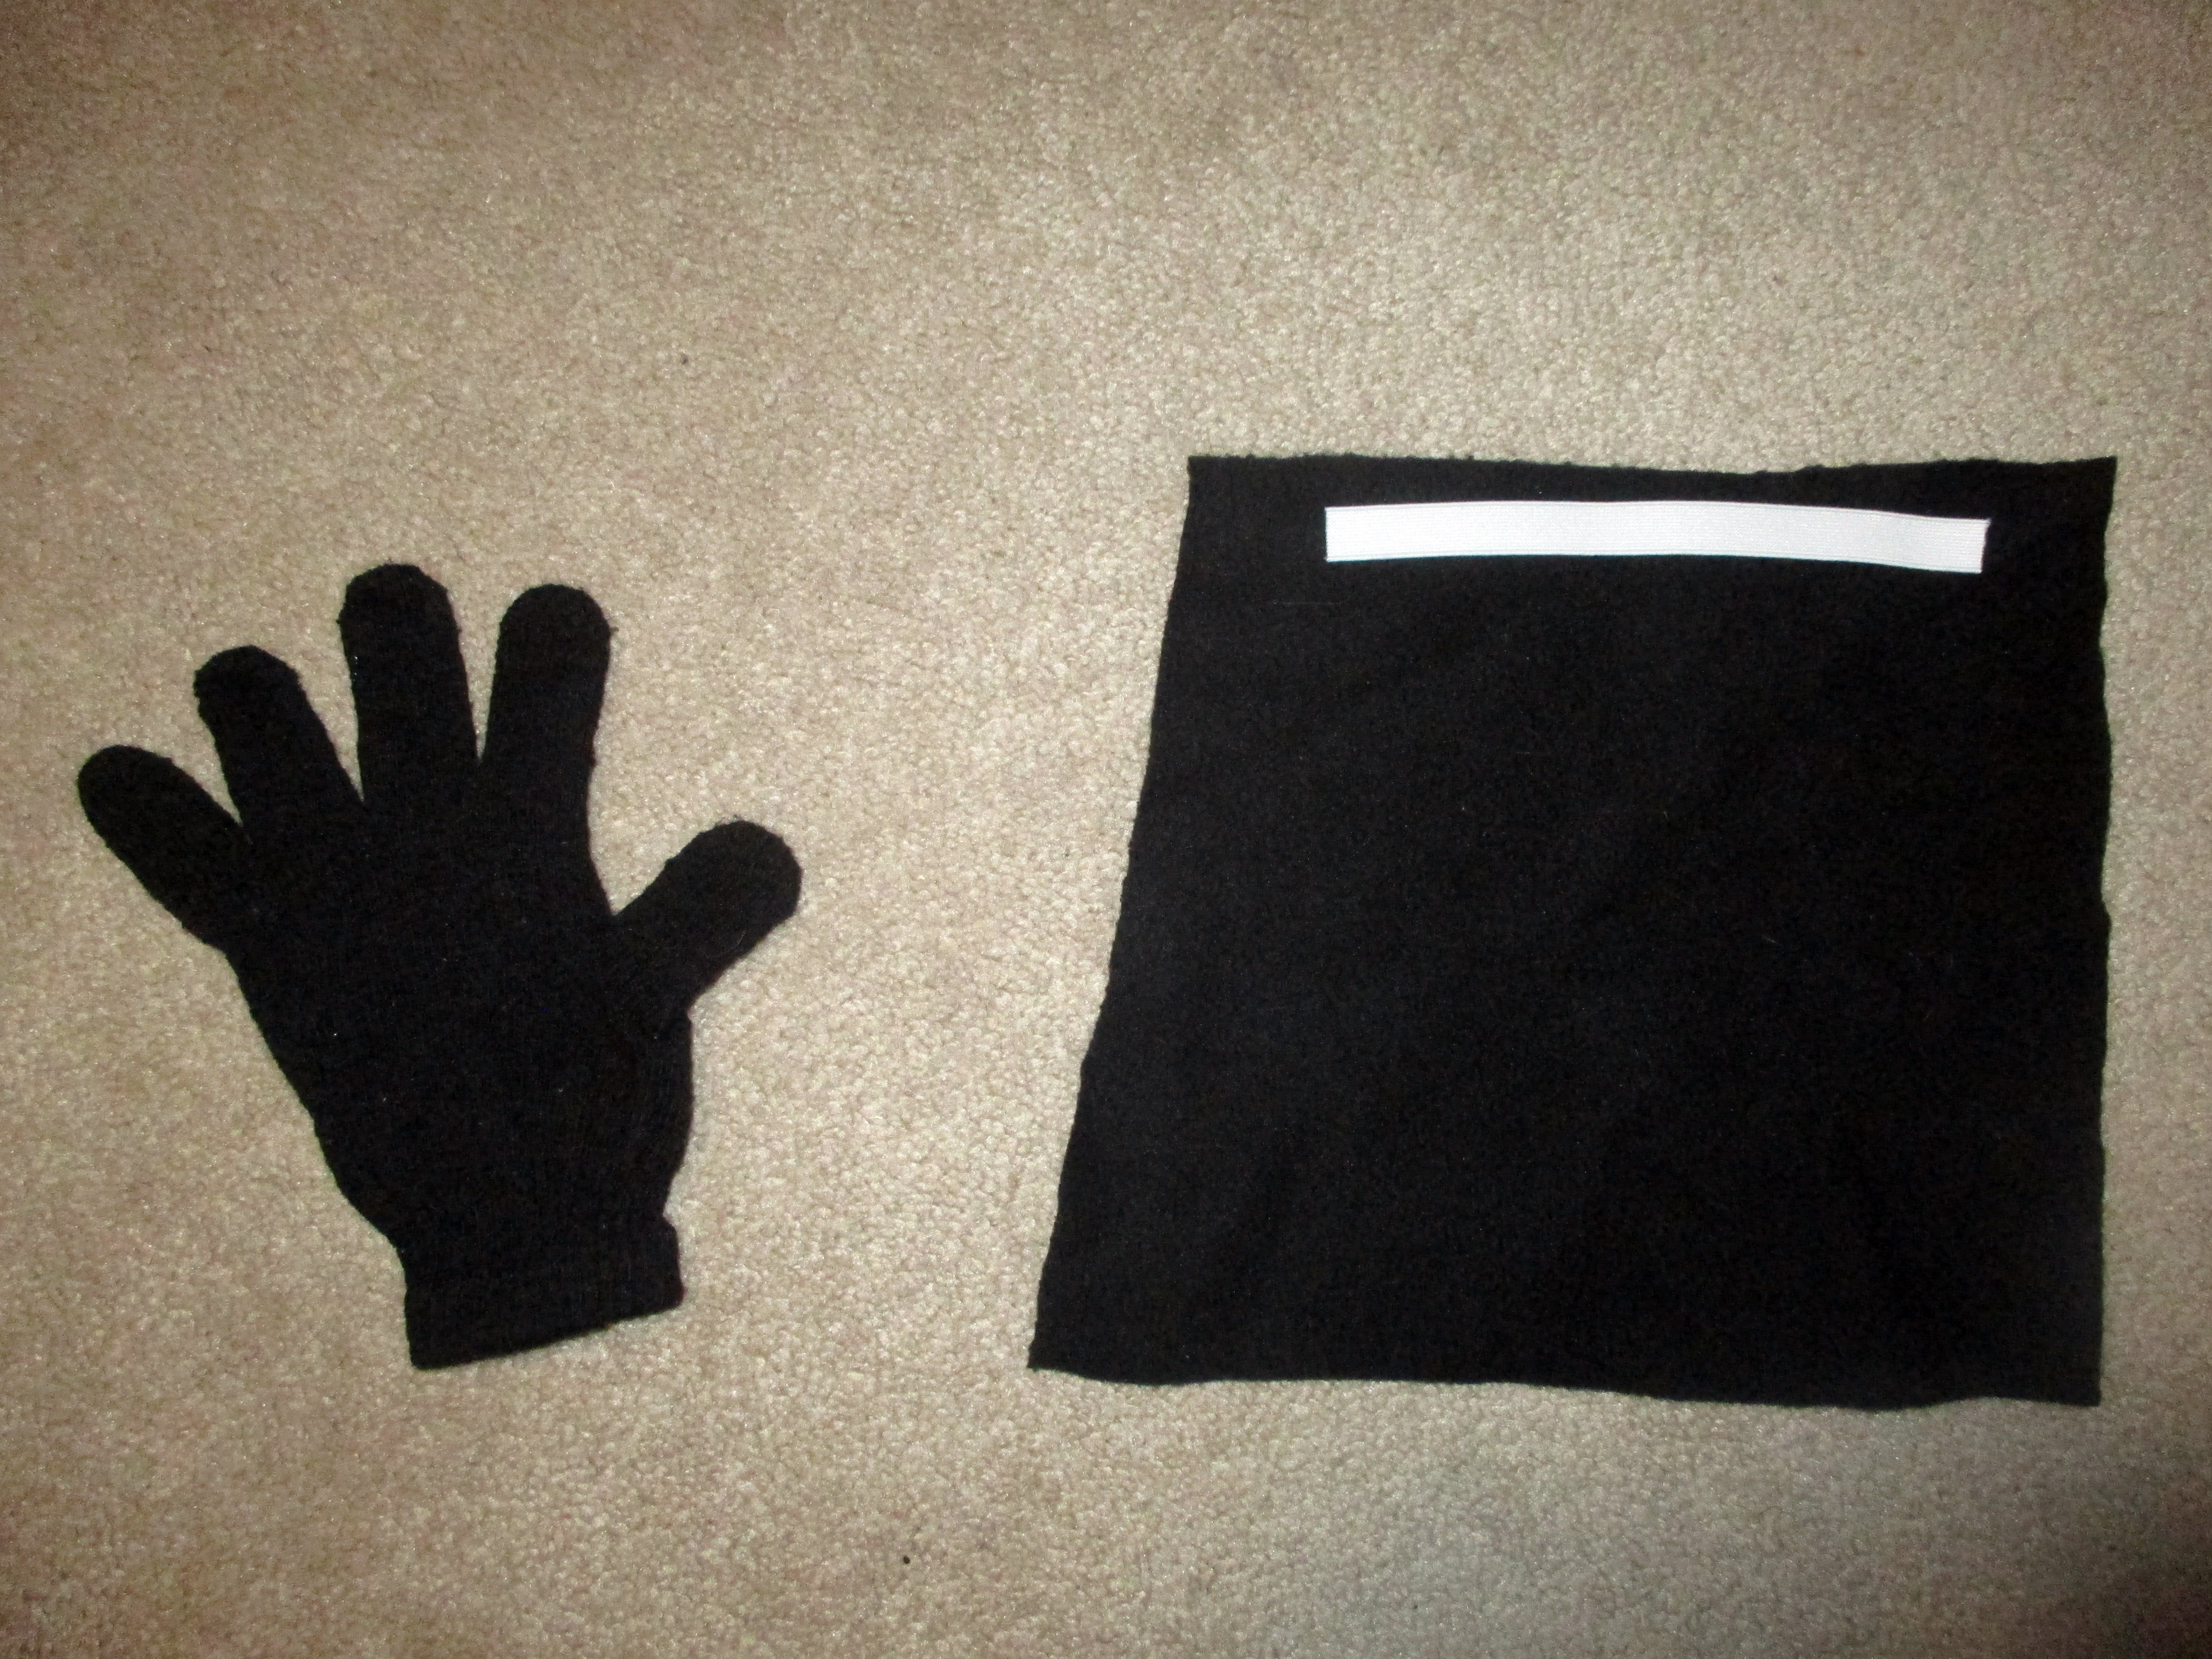
Using a piece of elastic that is cut to about 3/4 of the width of your black fabric, sew it to the edge of one side of the rectangle, making sure to stretch the elastic as you go so that each end meets up with the fabric. Once it is attached, you can sew that end to the base of your glove. There should now be an opening along the long side of the black fabric. Turning the glove and fabric inside out, stitch along the edge. Having the elastic sewn along the wrist will allow your child to fit her hand into the glove.
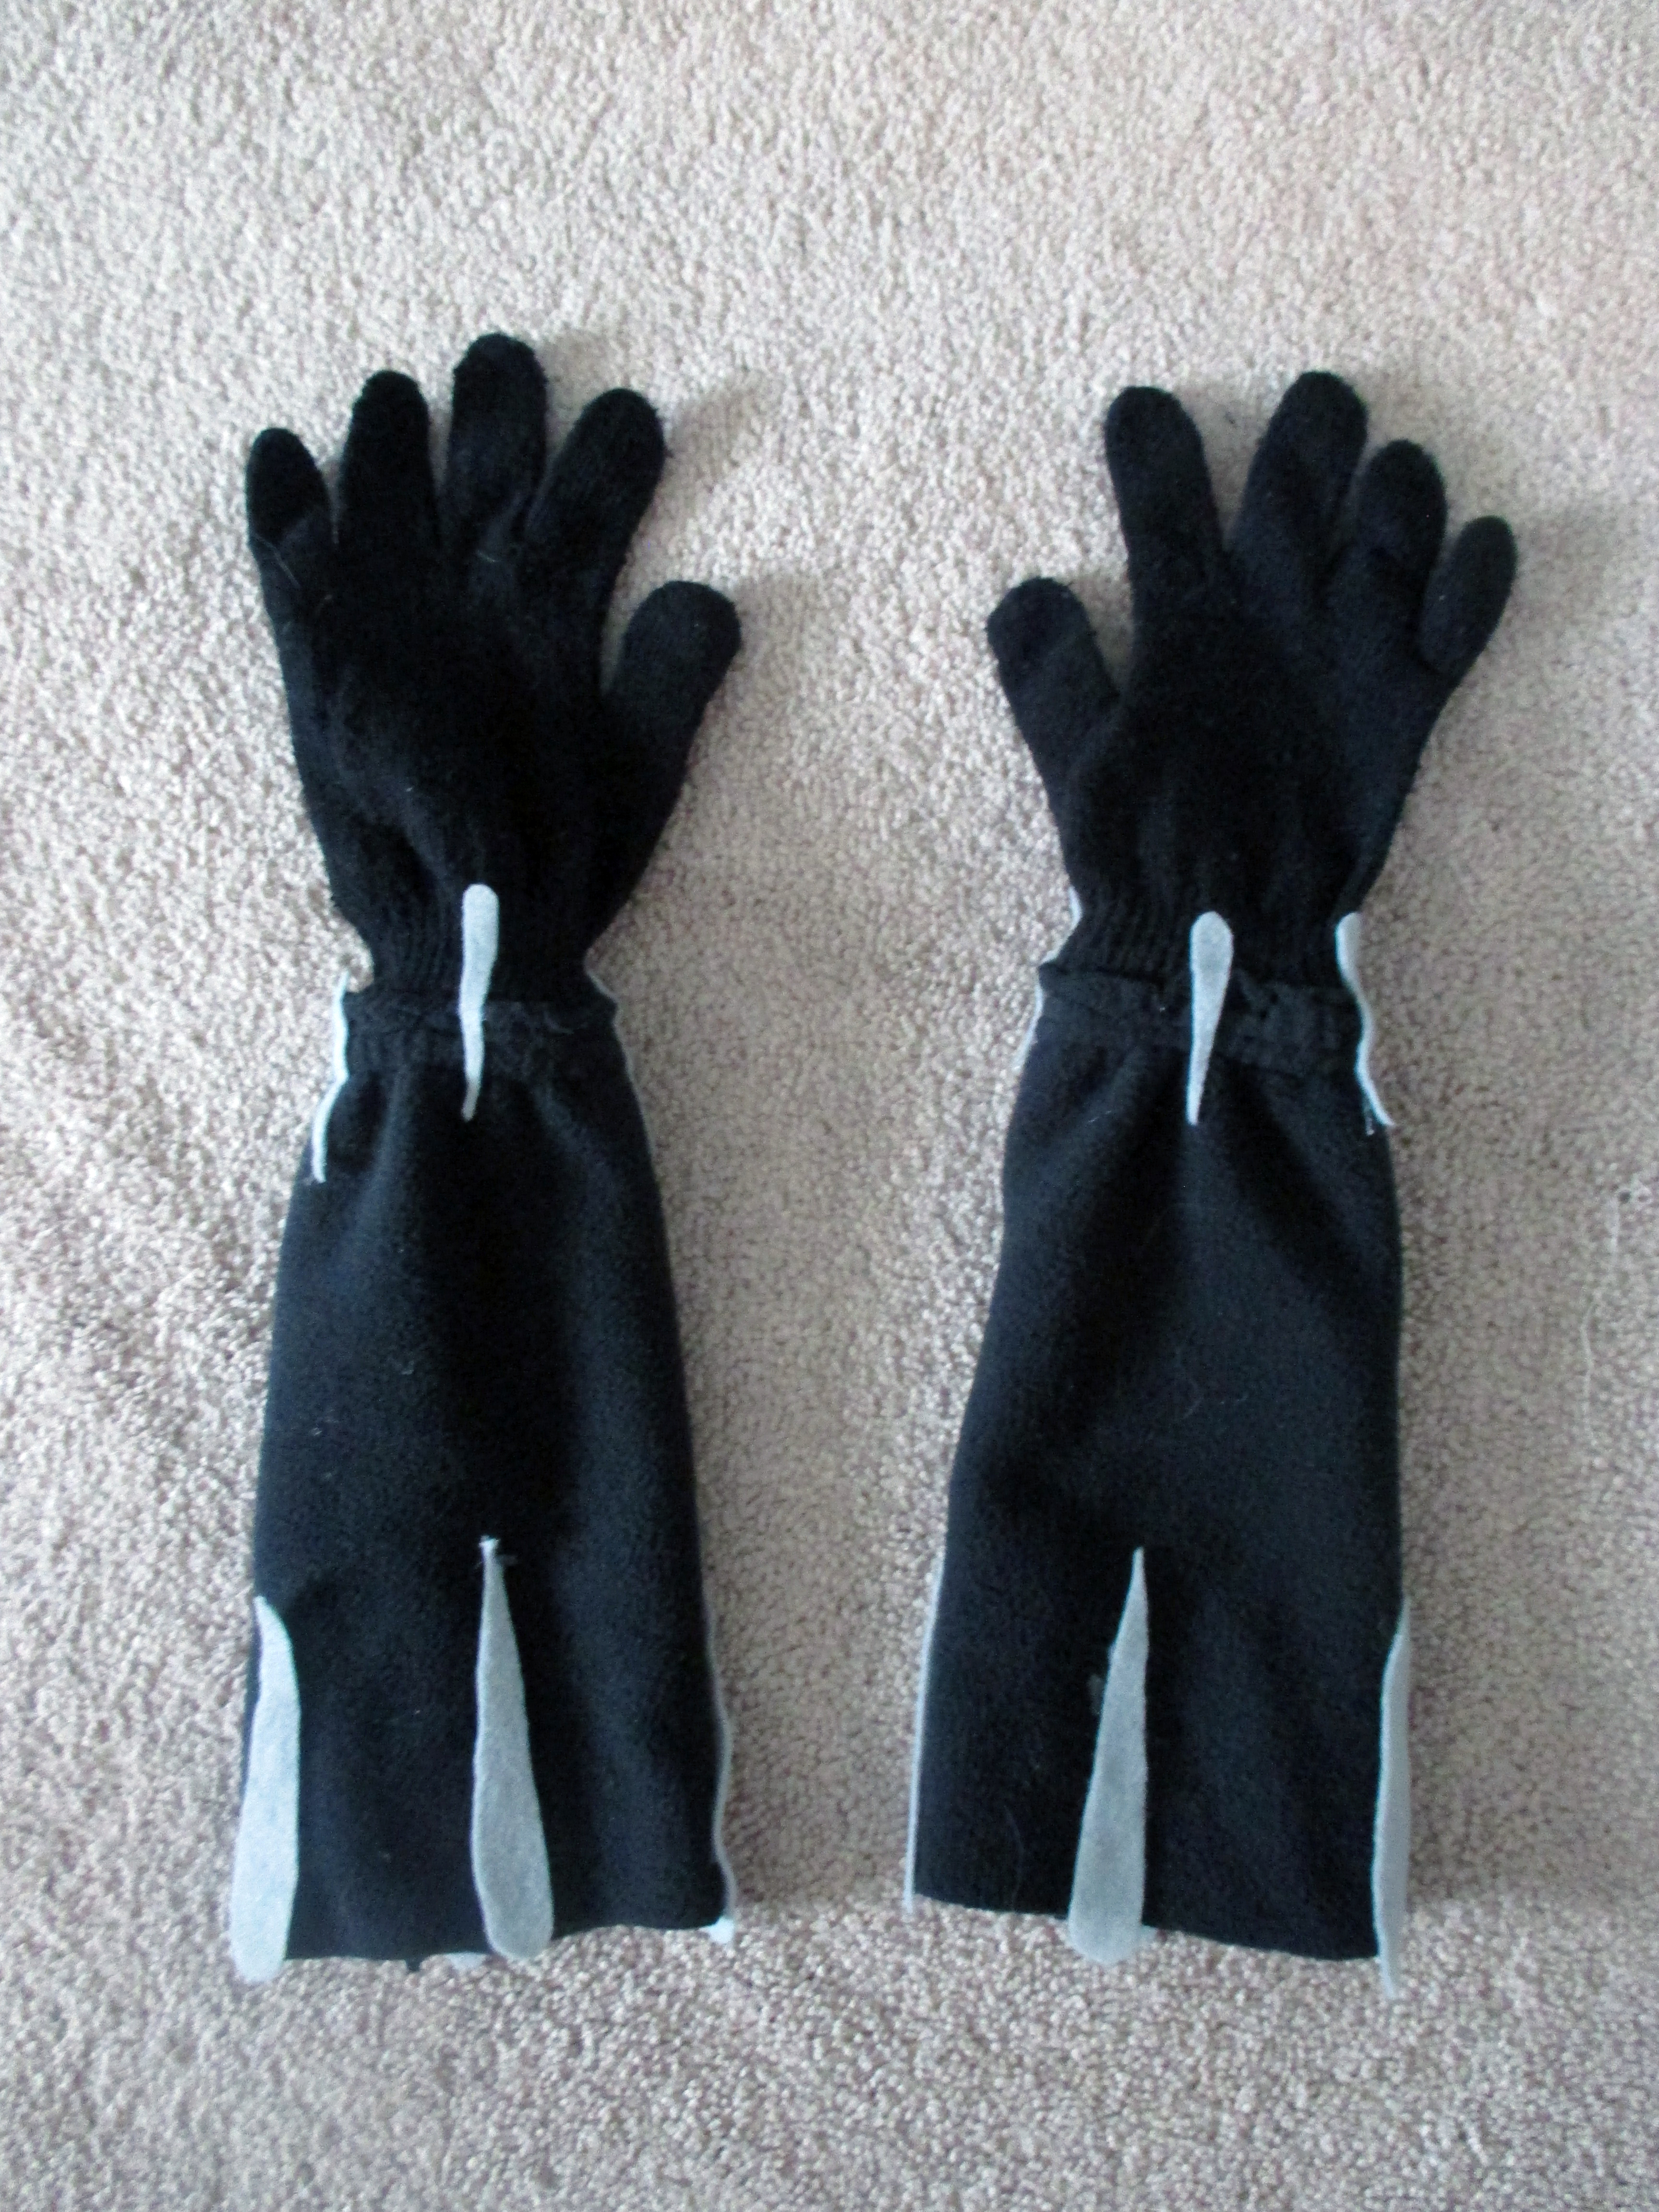
Turning them right side out, you are now ready to apply the details to the outside of the gloves. I used pieces of grey felt for this. You can attach them with hot glue, or sew them on.
DIY Black Panther Necklace
A Black Panther costume definitely needs a cool necklace. For this I used an old wire coat hanger and some papier-mâché.
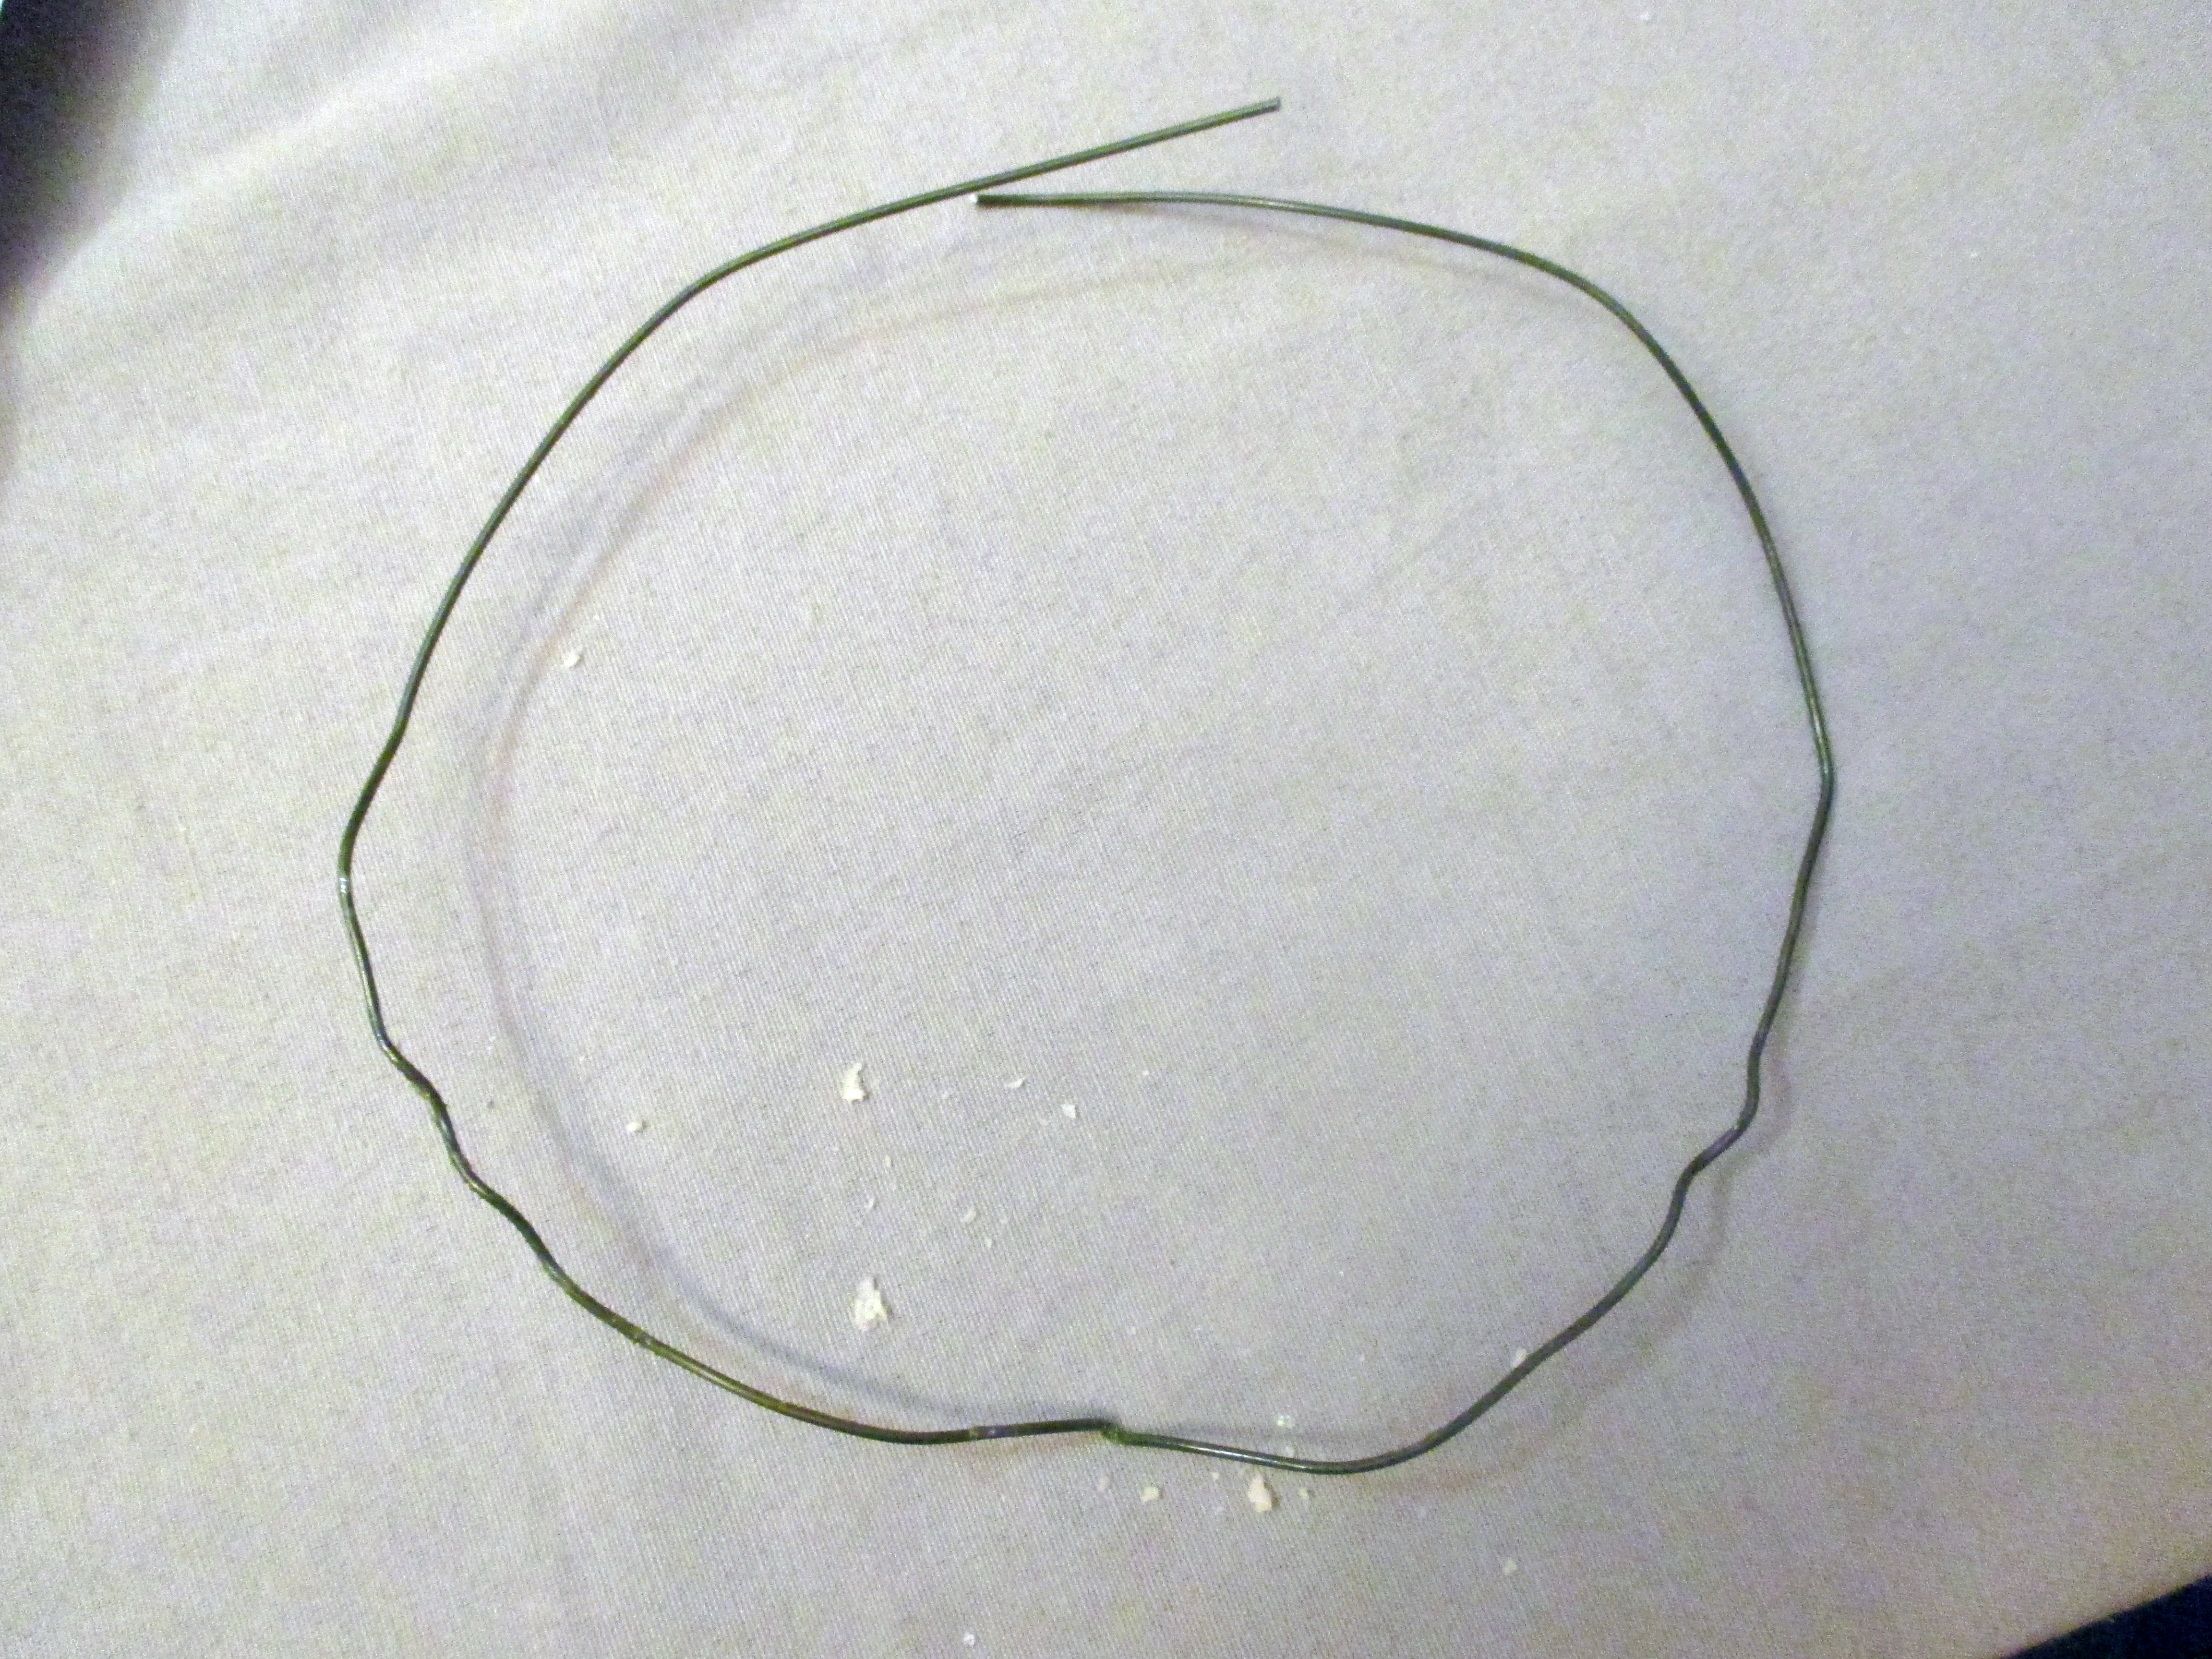
First, work your hanger into a circular shape. If you happen to have other sturdy wire hanging around, go ahead and use that. The important thing is to have a rock solid foundation.
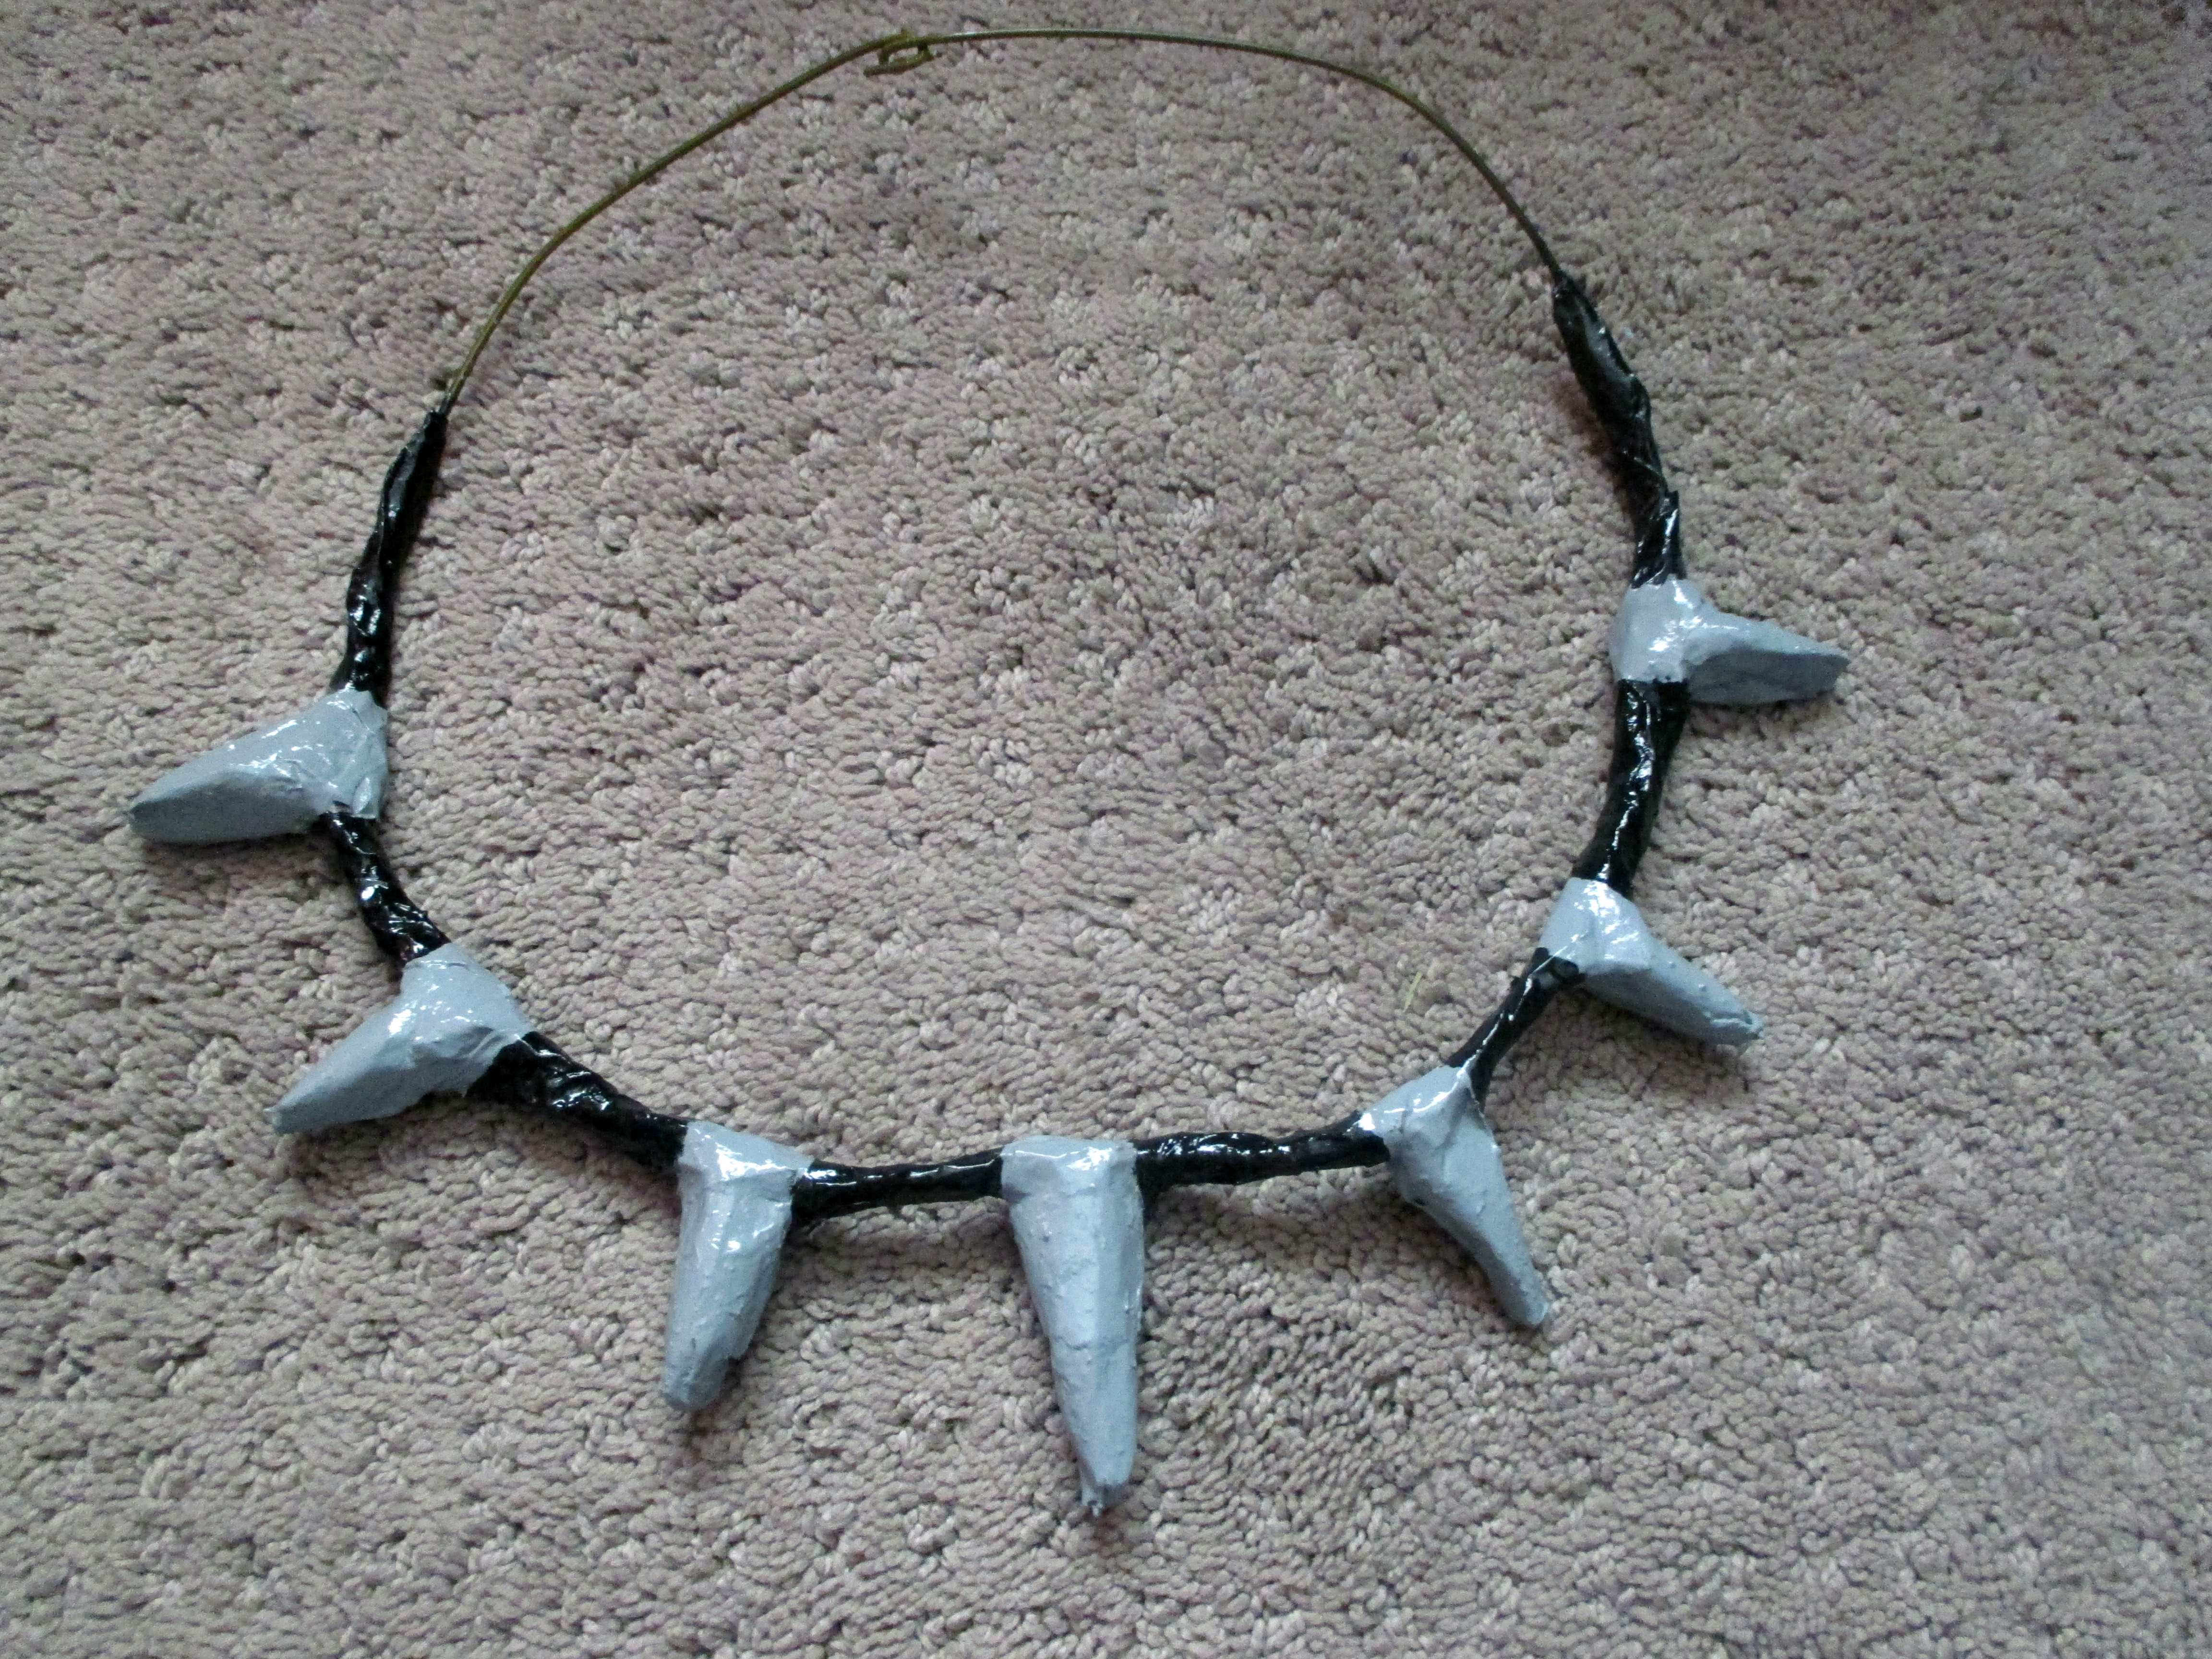
Carefully papier-mâché around the hanger. Initially I was just going to papier-mâché the teeth, but I found it did not adhere well to the hanger and was sliding around. In order to make sure the pieces do not slide around, go ahead and papier-mâché around the hanger between each of the individual teeth. It is a bit tedious as first, but once you get it going, it will stick.
Once the entire thing dries, bring out that acrylic paint and varnish again and finish it off.
Finishing the Uniform
If you want to use the pants and/or shirt afterwards without the additional Black Panther pieces, it is easy to do some loose stitching that can easily be removed. I used felt once again for the details, but other fabrics will definitely work.
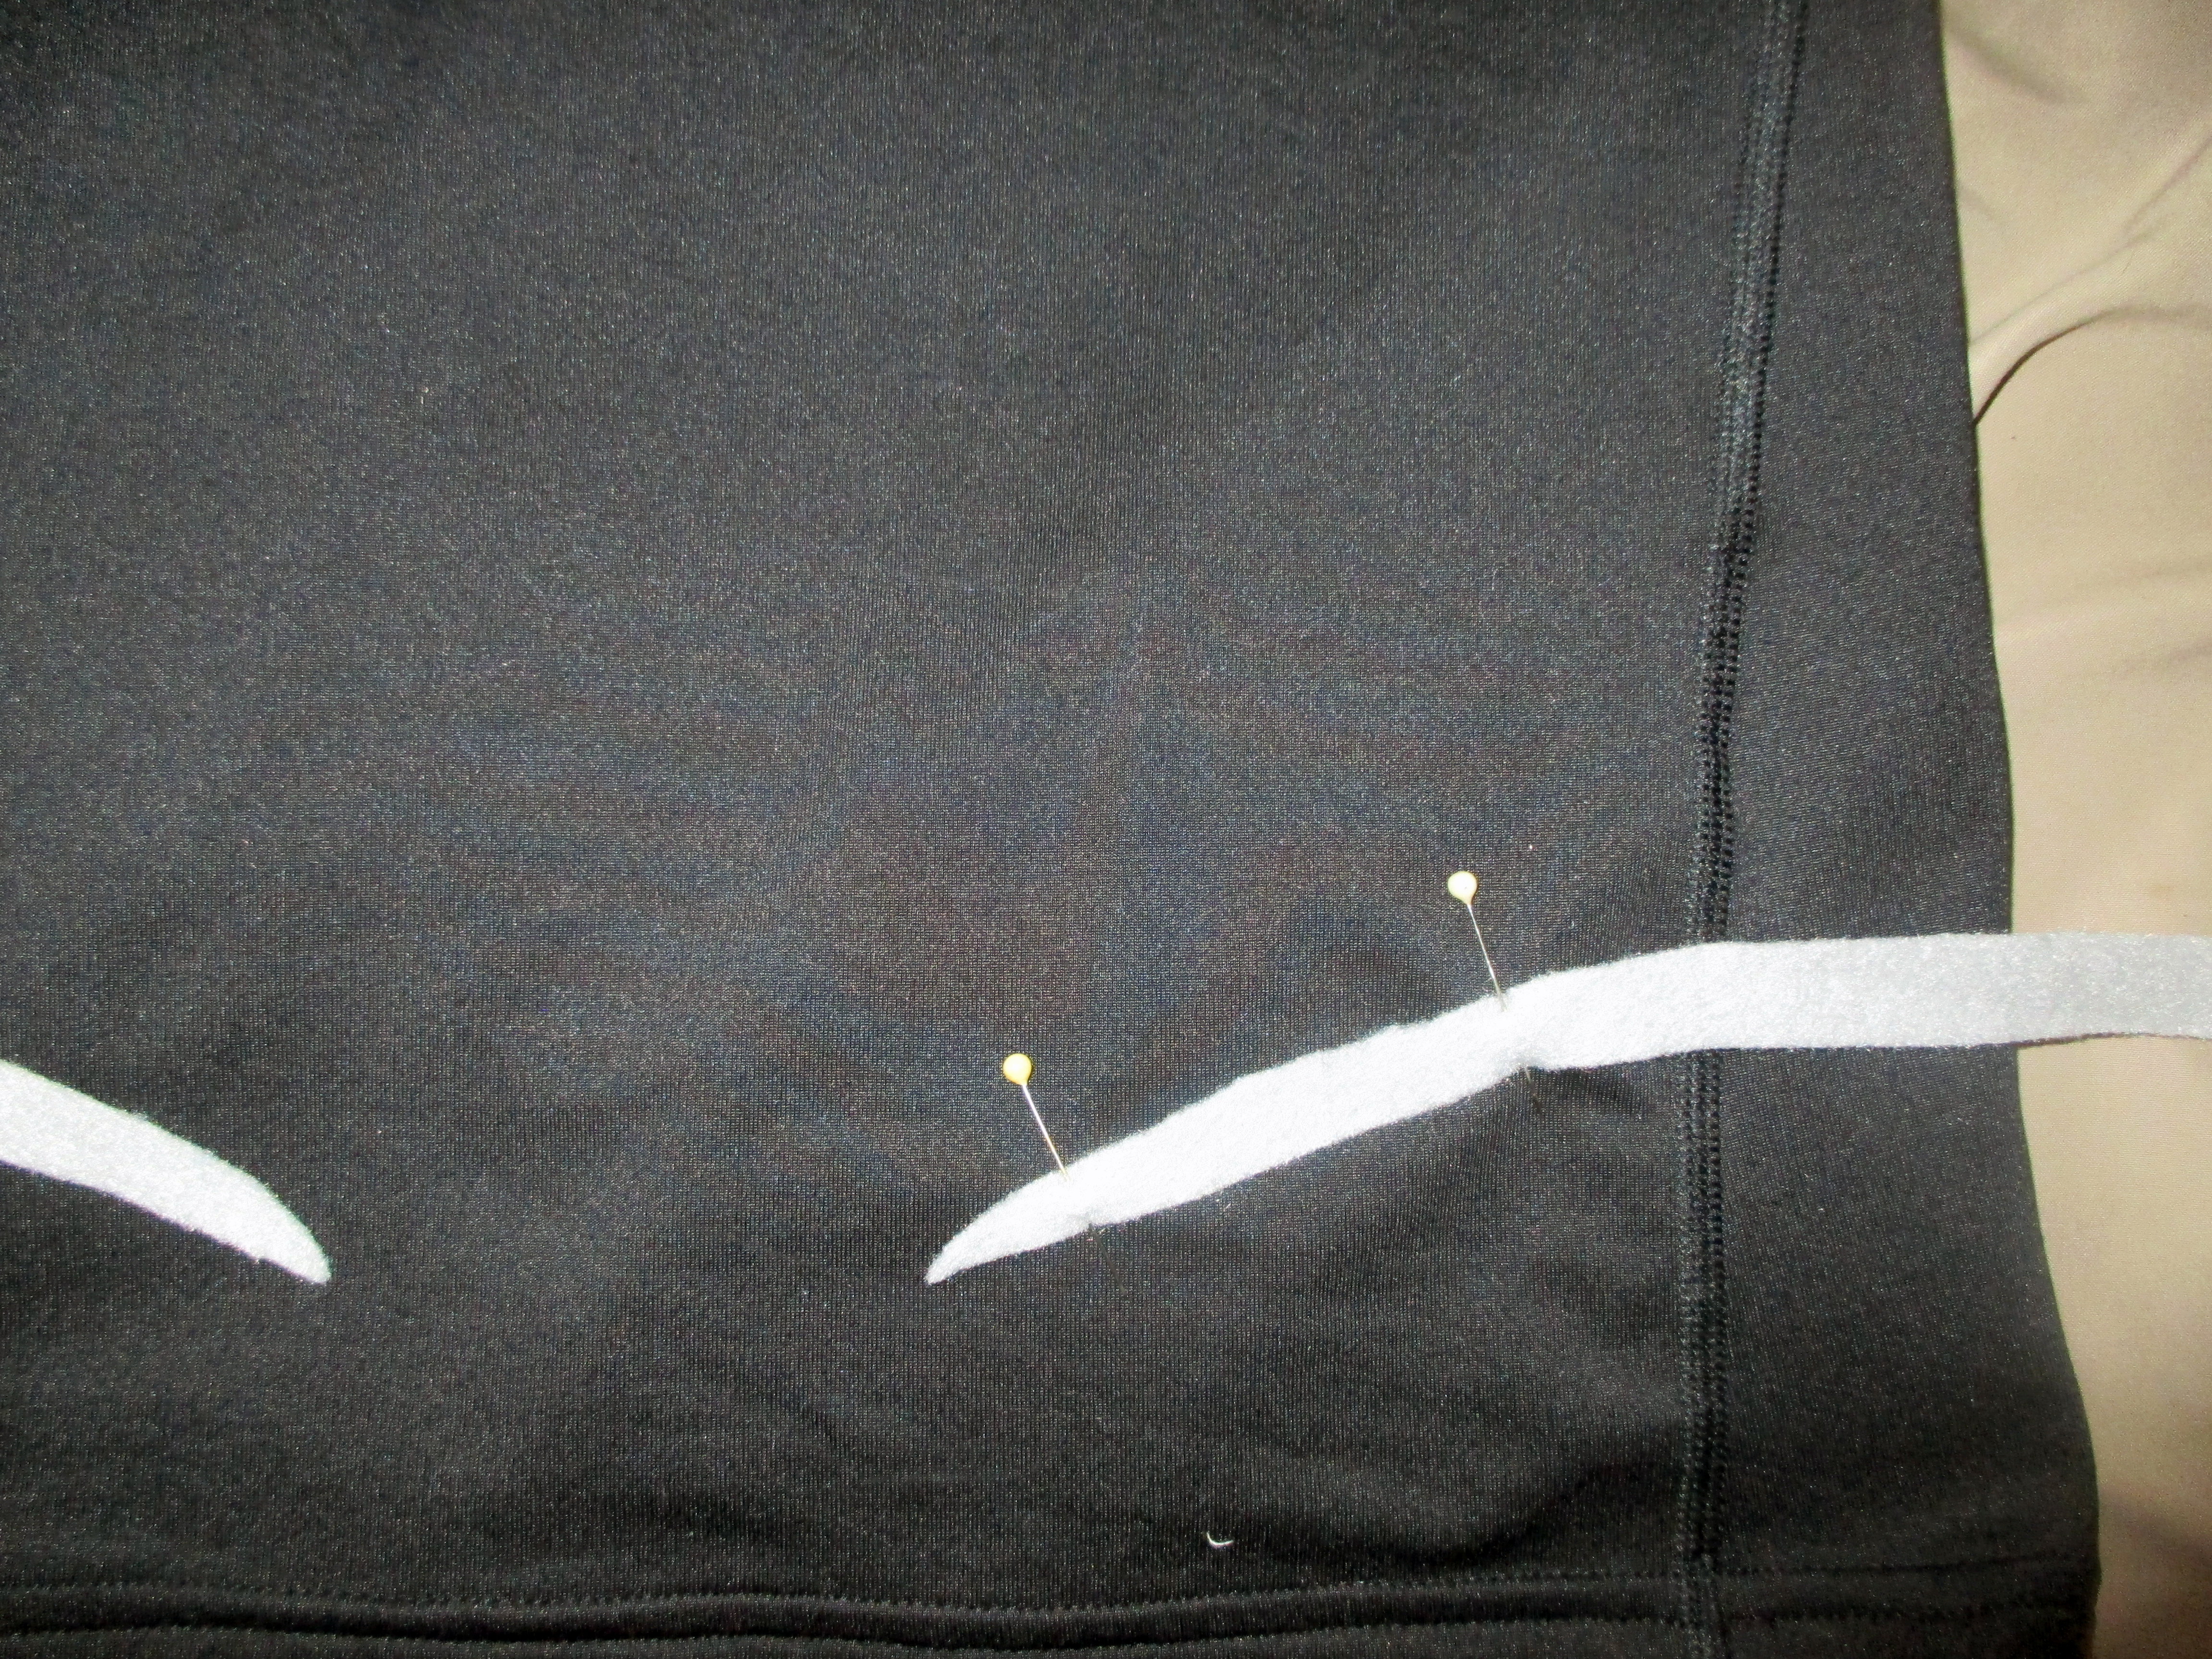
If your shirt is made out of a stretchy fabric, make sure to stretch it out as you attach the details. Above, you can see the felt pieces being prepared for sewing. Fortunately, the shirt doesn’t require a lot of detailing.
The pants also have felt details. In this case there are hand-sewn wide stitches so that they can easily be detached. Since my daughter is a fan of leggings, I figure these will be used in the future.
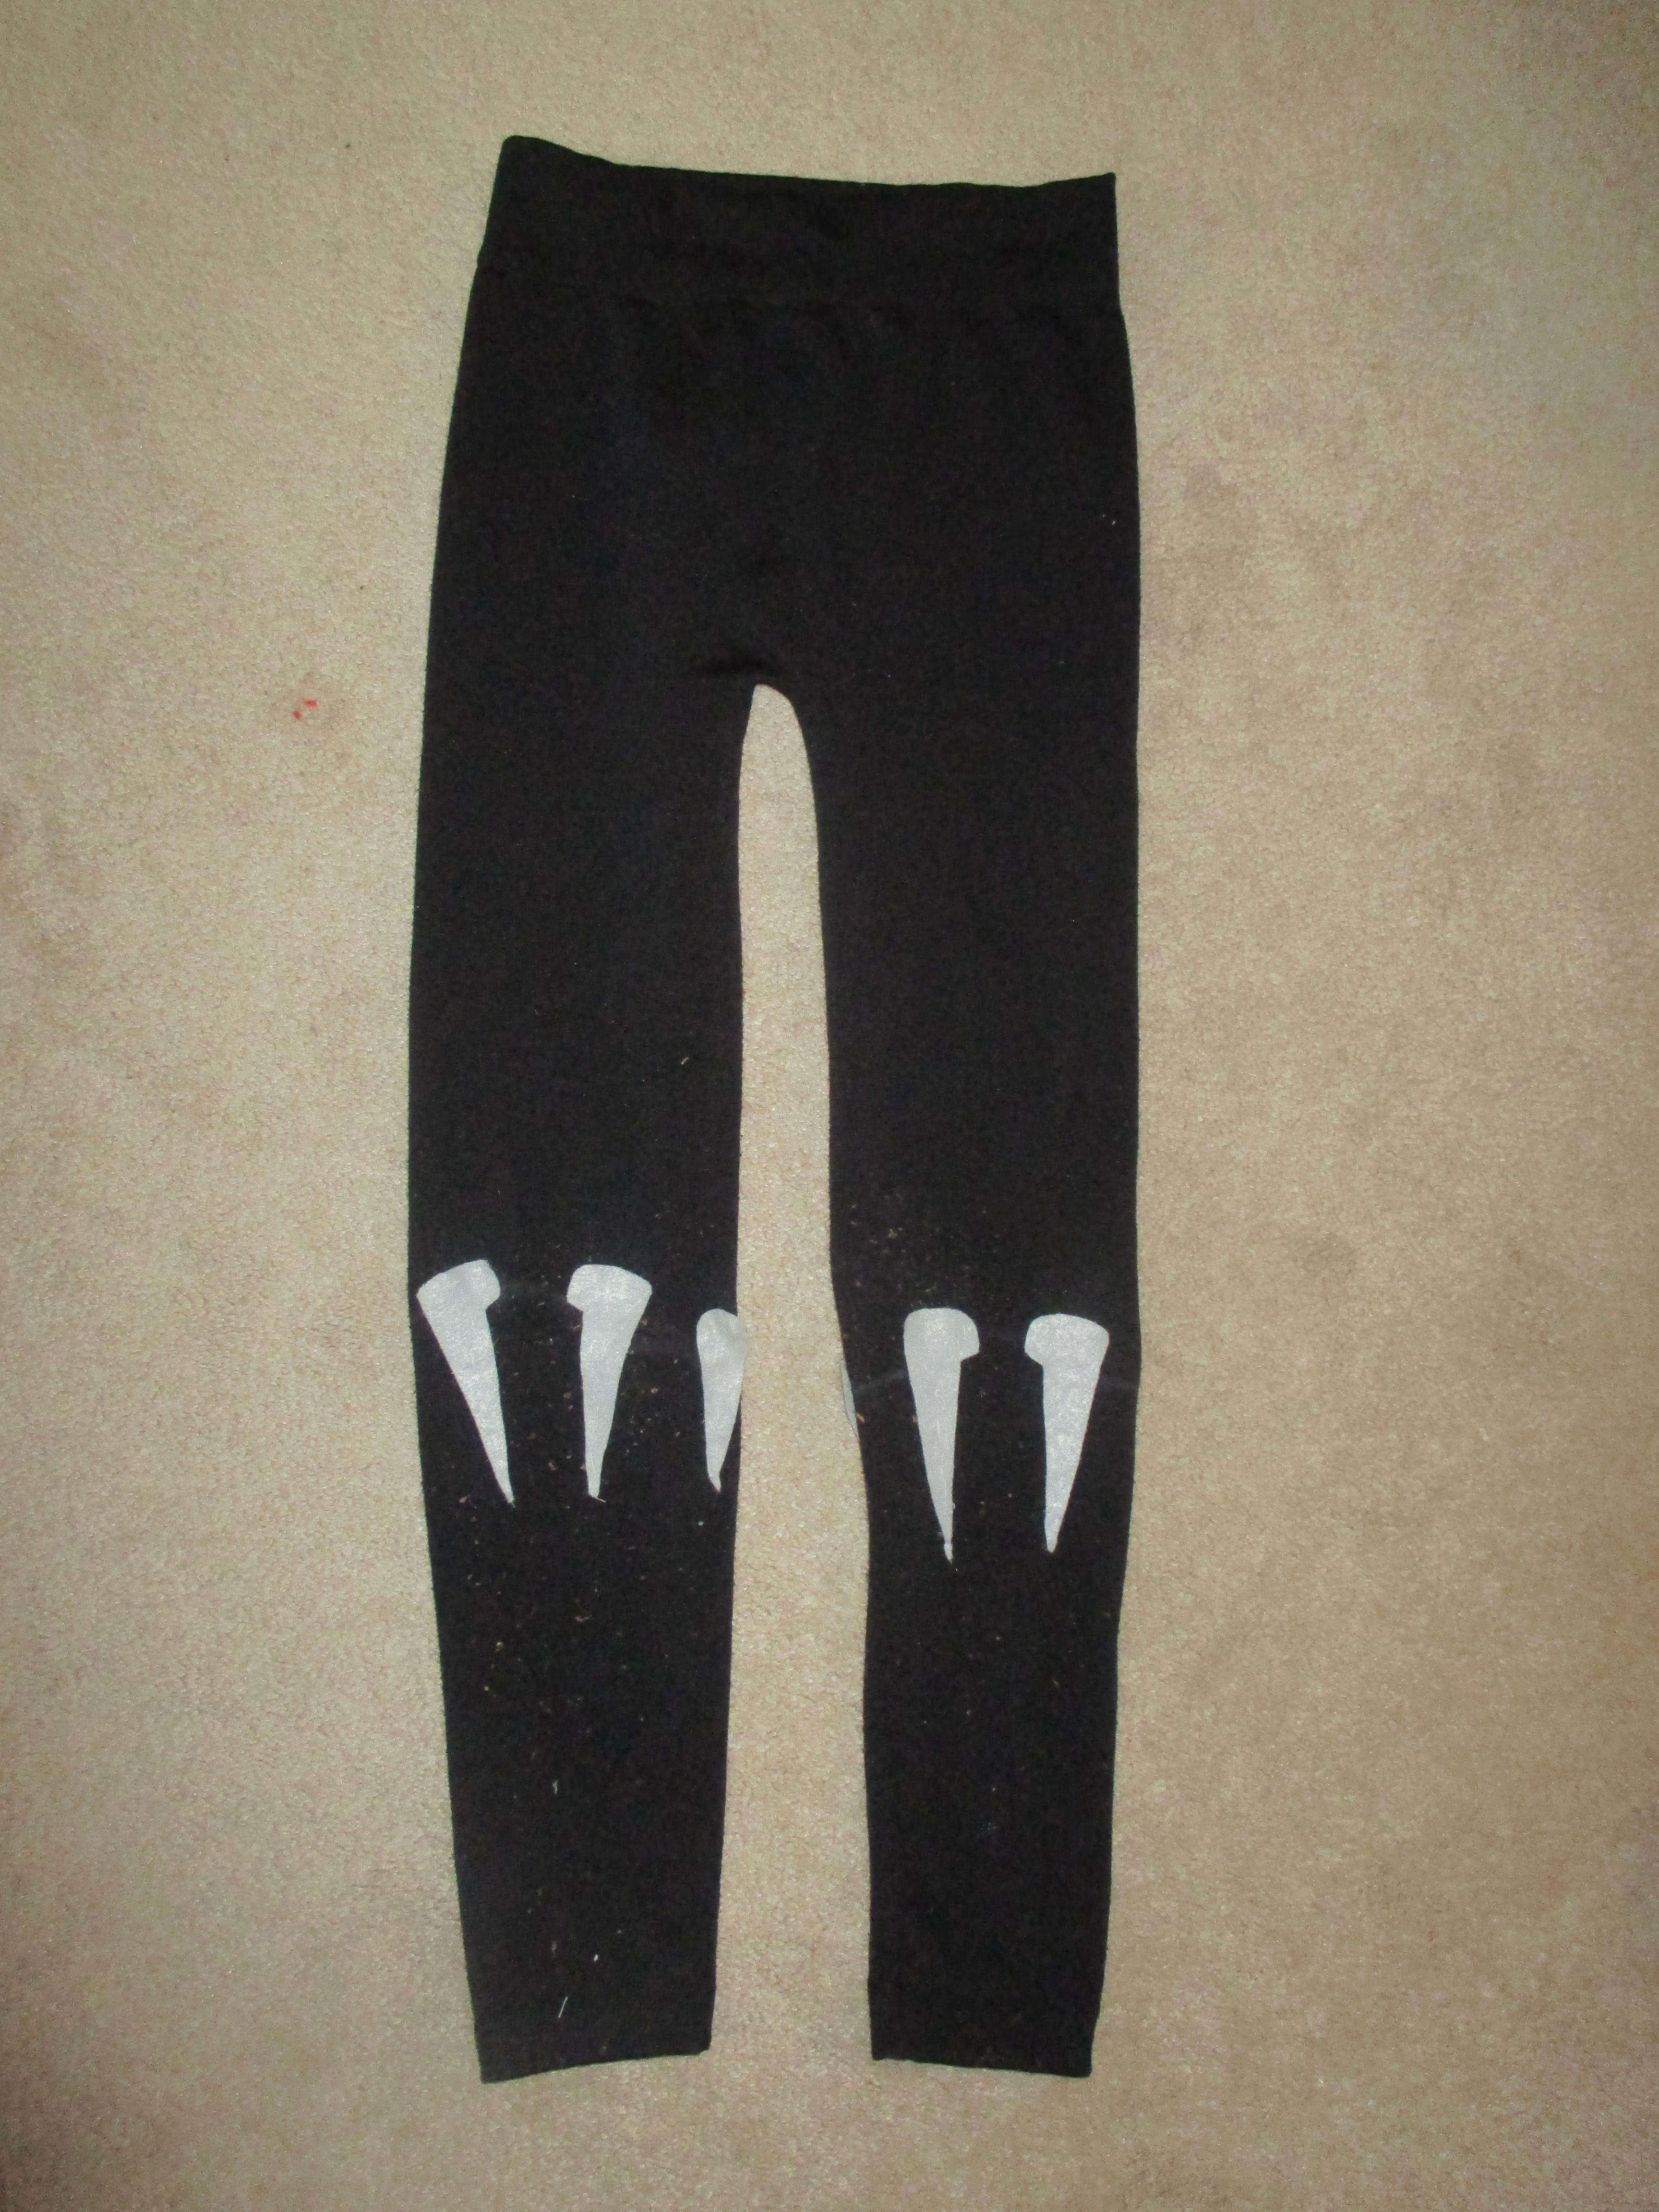
Make sure that when you are attaching the details on the pants that you factor in the boots or shoes you are using. You want to make sure that the footwear does not cover the added details.
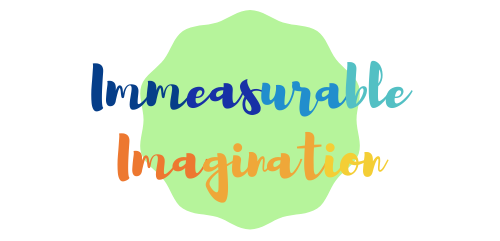
Putting it All Together
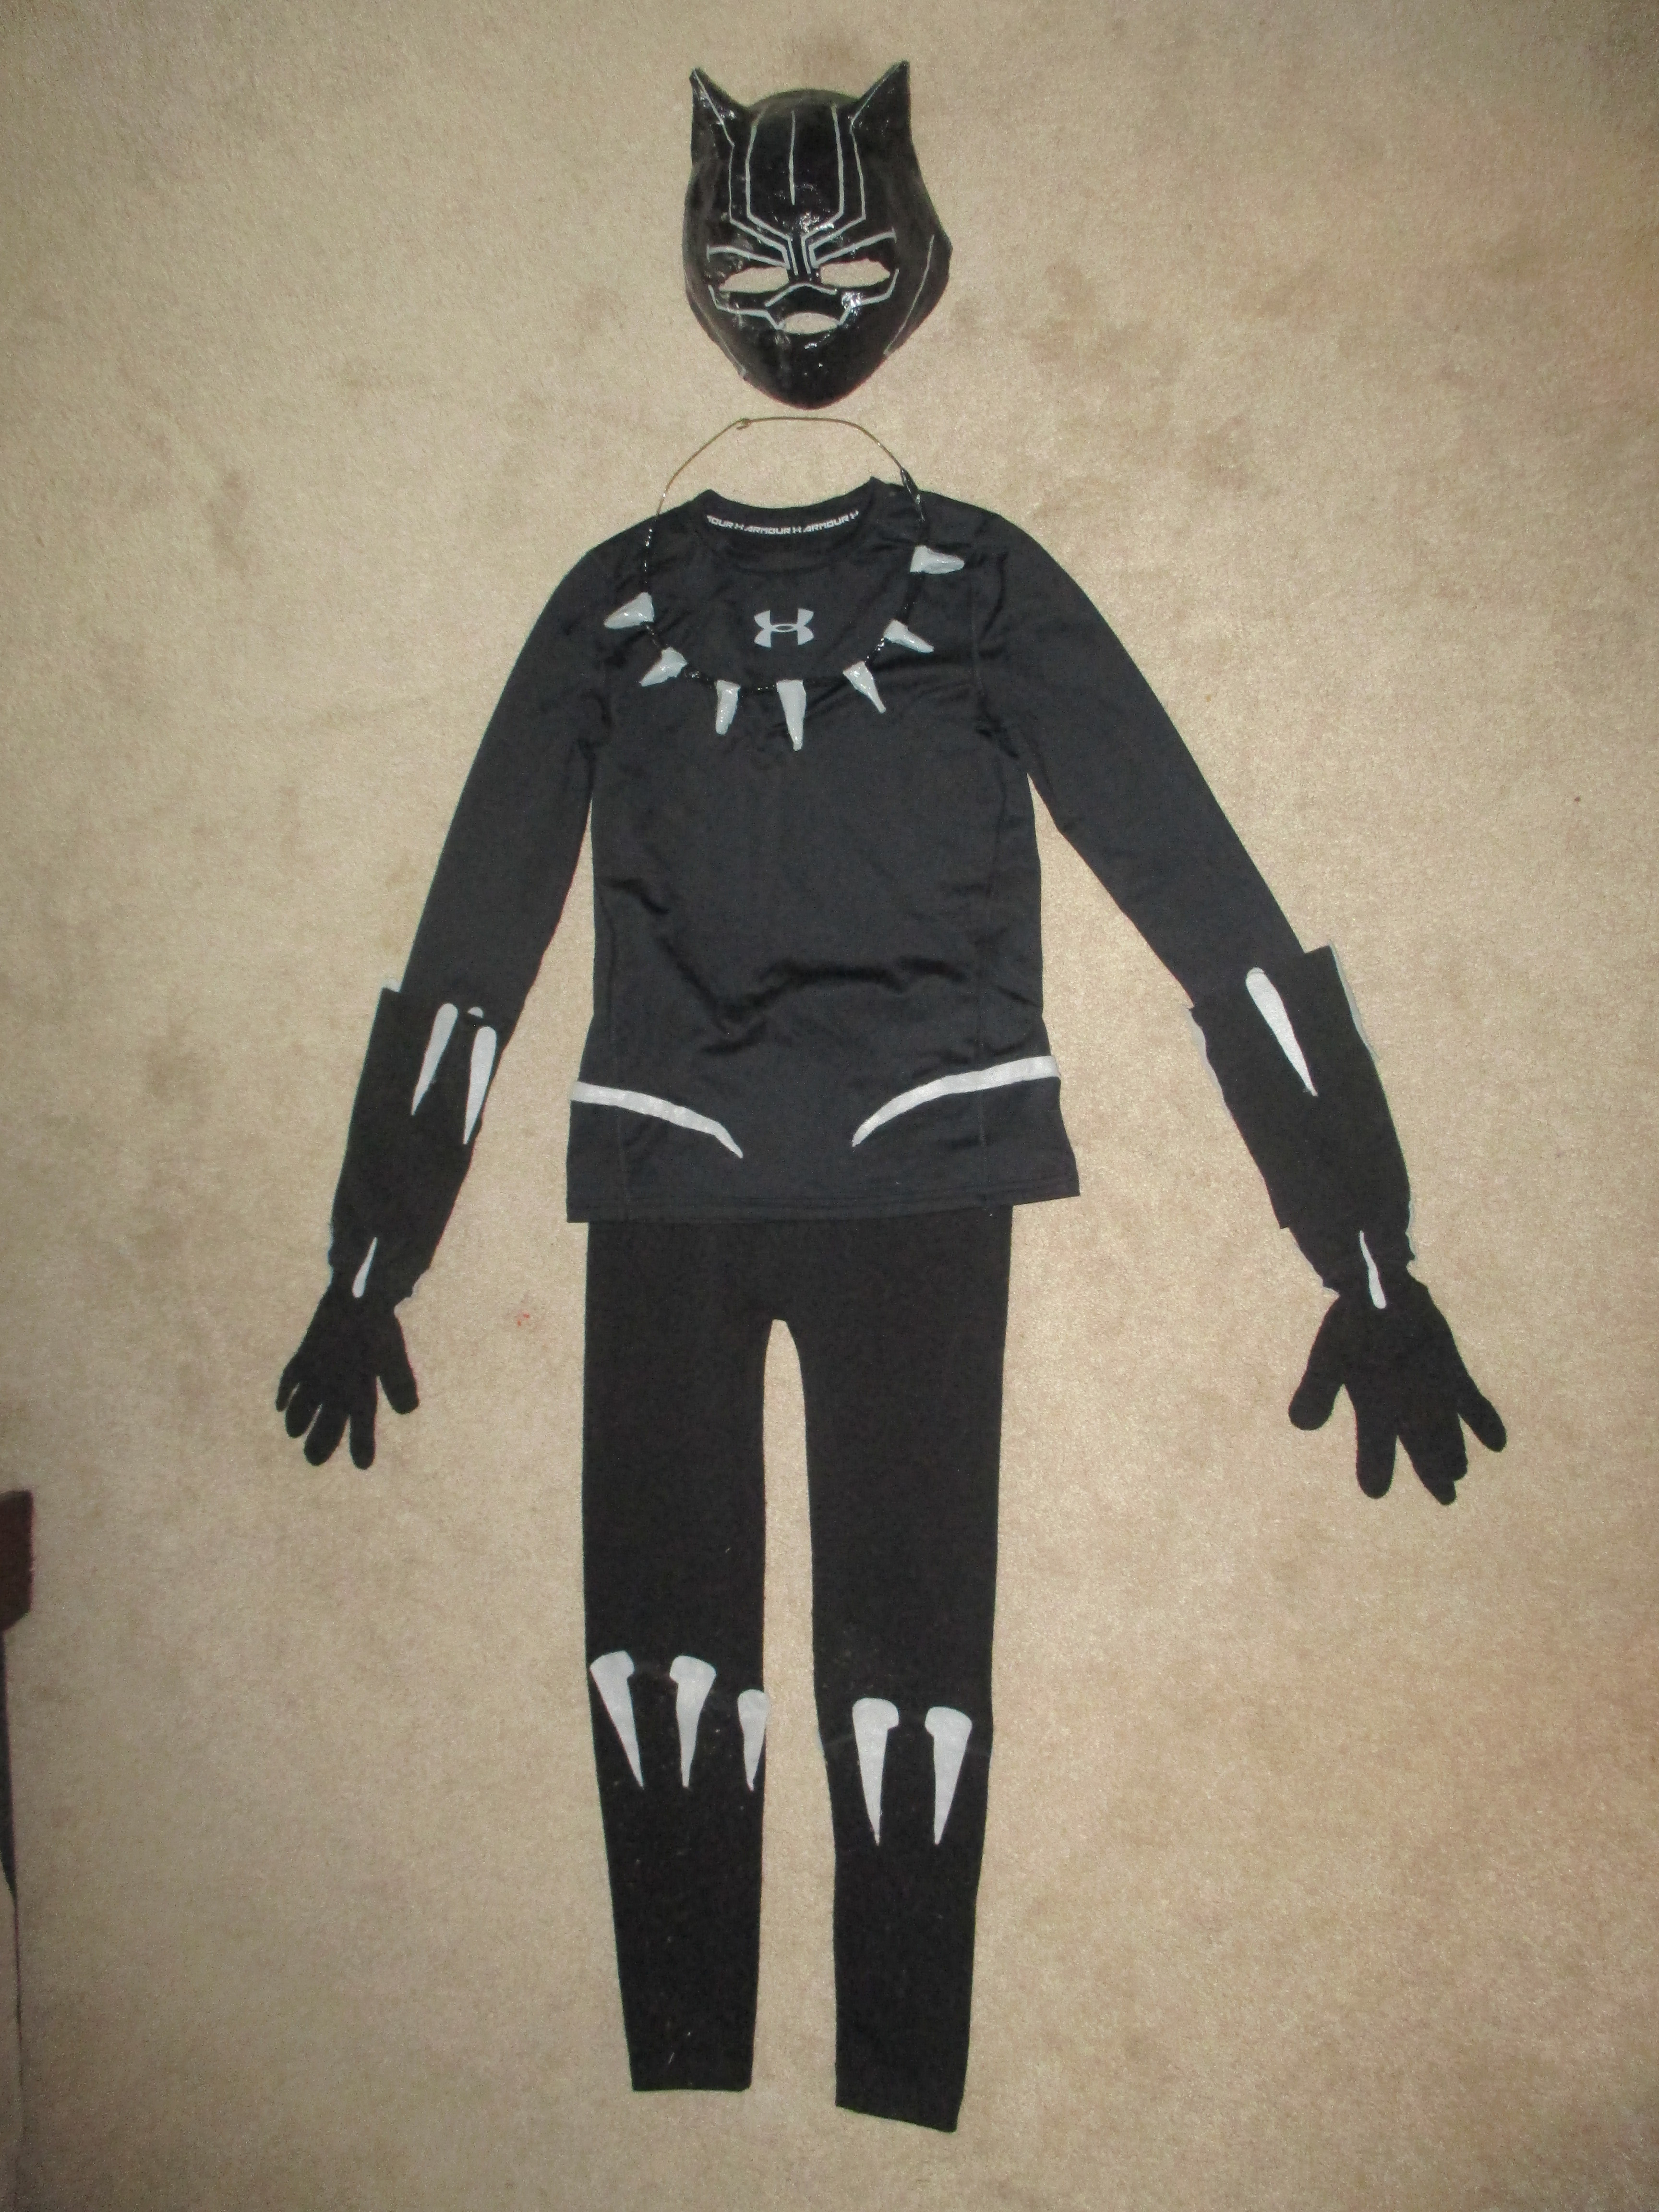
So that’s it! A very inexpensive DIY Black Panther costume. Wakanda forever!
If you’d like to see more DIY Avengers costumes, check out my Hulk.
One thought on “DIY Black Panther Costume: How to Make Avengers Costumes”