
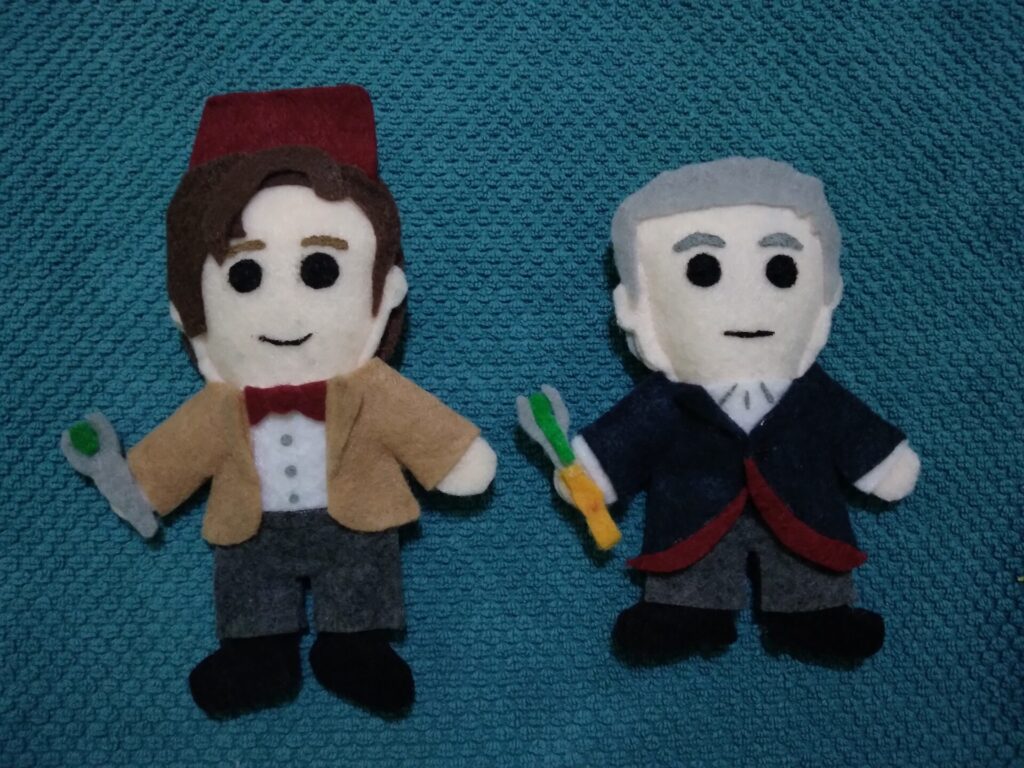
As promised in my previous Dr. Who dolls post, I present the 11th and 12th doctors! Life is pretty busy and there are so many other characters I want to make (and I have promised my children certain ones), so I may not get to other doctors in the near future. I’m happy with the four that I have right now and I hope you enjoy making these 2. So let’s dive in!
Dr. Who Dolls Patterns
Attached are the patterns for Doctors 11 and 12. You can either print the patterns on paper, or transfer the patterns onto something sturdier, like cardboard or card stock.
If you need any additional help with placement of pieces or any other steps along the way, I have a video for that! Check it out below:
Steps to Complete Dr. Who Dolls
Step One
Print and cut out the pattern pieces. If you want to store the pieces all together (I put mine in a sandwich bag), you can write an initial on each of the pieces so you know which pieces go with which character.

Step Two
Using patterns as guides, cut out the pieces from felt. Feel free to change colours of outfits.

Step Three
Sew and stuff the bodies. I don’t sew around the arms or ears, but you can do whatever looks best for you. For sewing the legs, I tend to leave the feet undone. It makes it easier to stuff and gluing them after works fine for me. If you are great with sewing details, you can definitely sew around the feet.


Step Four
Using a glue gun, glue the arms, ears and feet. Attach the body to the legs. Then proceed to assemble your doctors. If at any point you are lost on placement, you can watch the video above.


Step Five
Add the details on the faces. You have a few options here. Personally, I use acrylic paints. However, I suggest you go with your strength, which could include embroidery, fabric paints, or maybe even markers. I apply the paint with a stylus, but you can use a small brush, or even a toothpick for the fine details. If you aren’t feeling confident in the placement of the facial features, you can lightly draw them on first.

And that is all there is to it for these Dr. Who dolls! I hope you have enjoyed make them. If you have any questions, leave them in the comments and I will do my best to answer them.
Look for more new character dolls coming soon! In the meantime, you can check out my Star Wars doll tutorials.