
Here are more of my Harry Potter dolls, including patterns and tutorial. This post includes Dumbledore, McGonagall, Snape, and Voldemort, but I also have 2 other posts with more characters. Click here for Harry, Ron and Hermione; and click here for Luna, Ginny, Neville, and Draco.
Patterns for Harry Potter Dolls
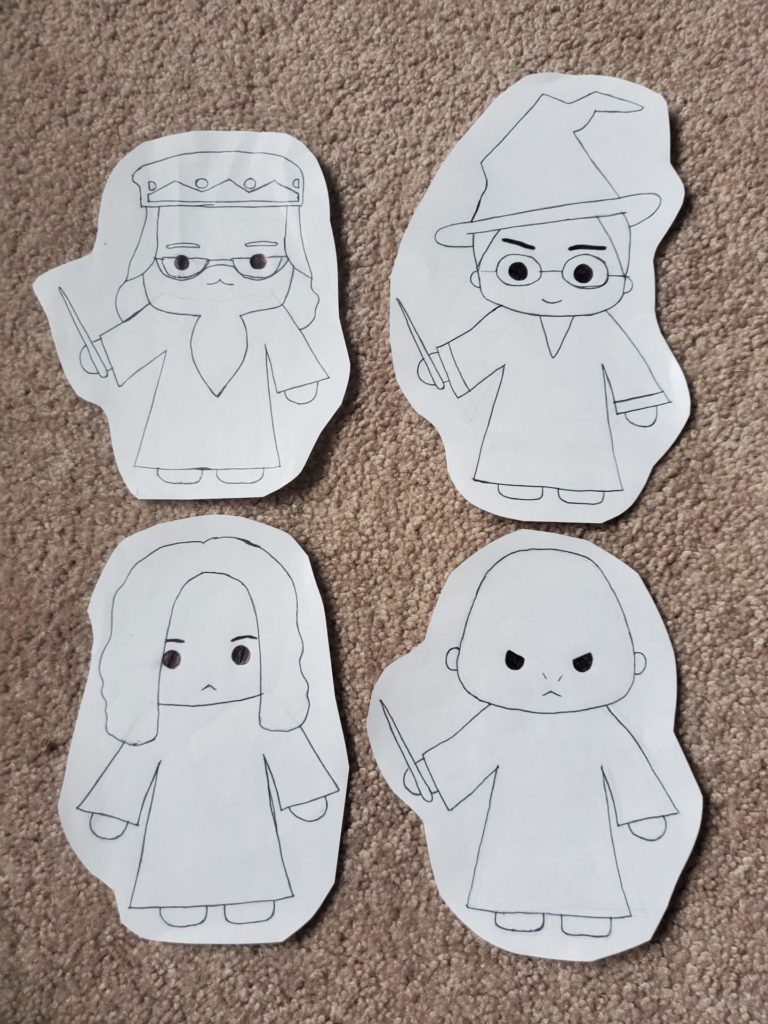
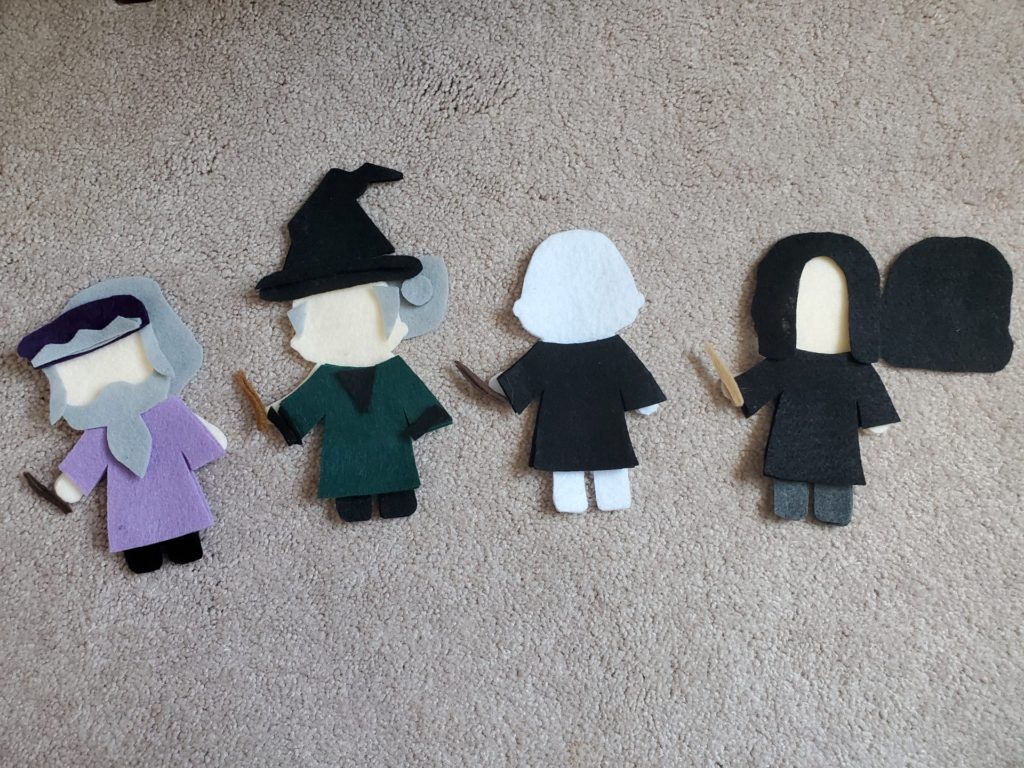
To get an idea of what the finished characters look like, from a pattern perspective, here are the guides you can use when assembling (I originally didn’t give Snape a wand, but changed my mind when I actually made him, so his finished doll has the same body as the others):
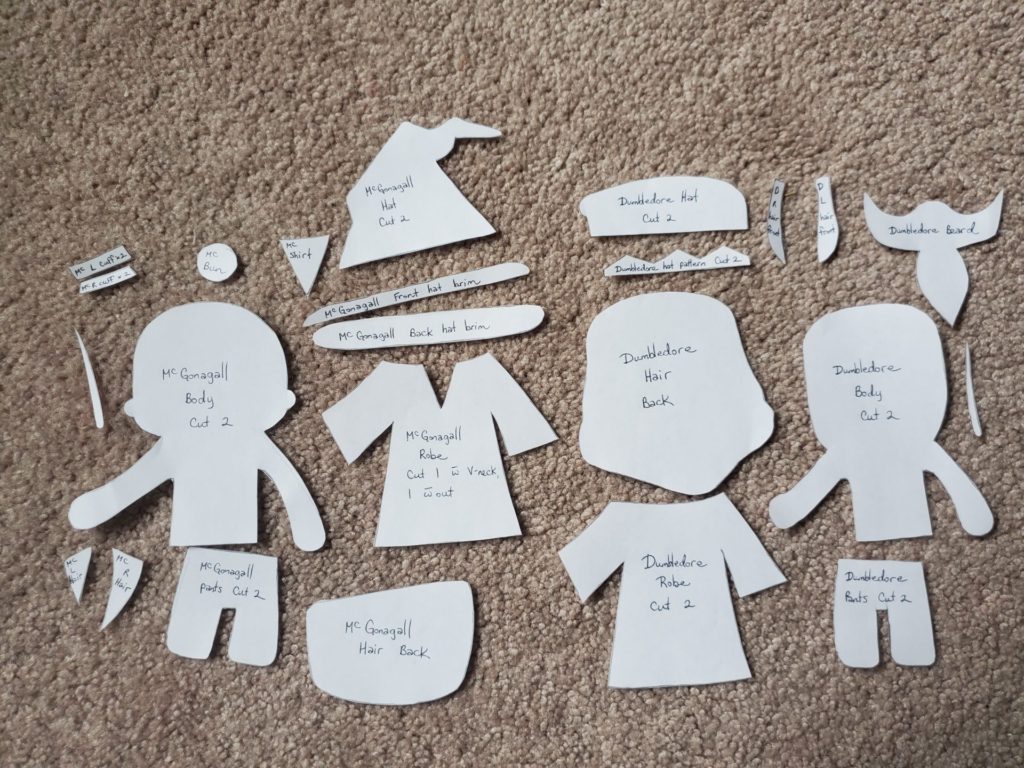
Attached are the patterns for Dumbledore, McGonagall, Snape, and Voldemort. I just cut out the paper patterns, but if you’d like something sturdy, you can trace them onto cardboard or cardstock.
There are 3 pattern pages for these characters. One has Snape and Voldement, one has Professor McGonagall, one has Professor Dumbledore.
This post contains step-by-step instructions, with pictures included; however, if you’d like a more in-depth tutorial, I also have a video!
Step One
Cut out the pattern pieces.

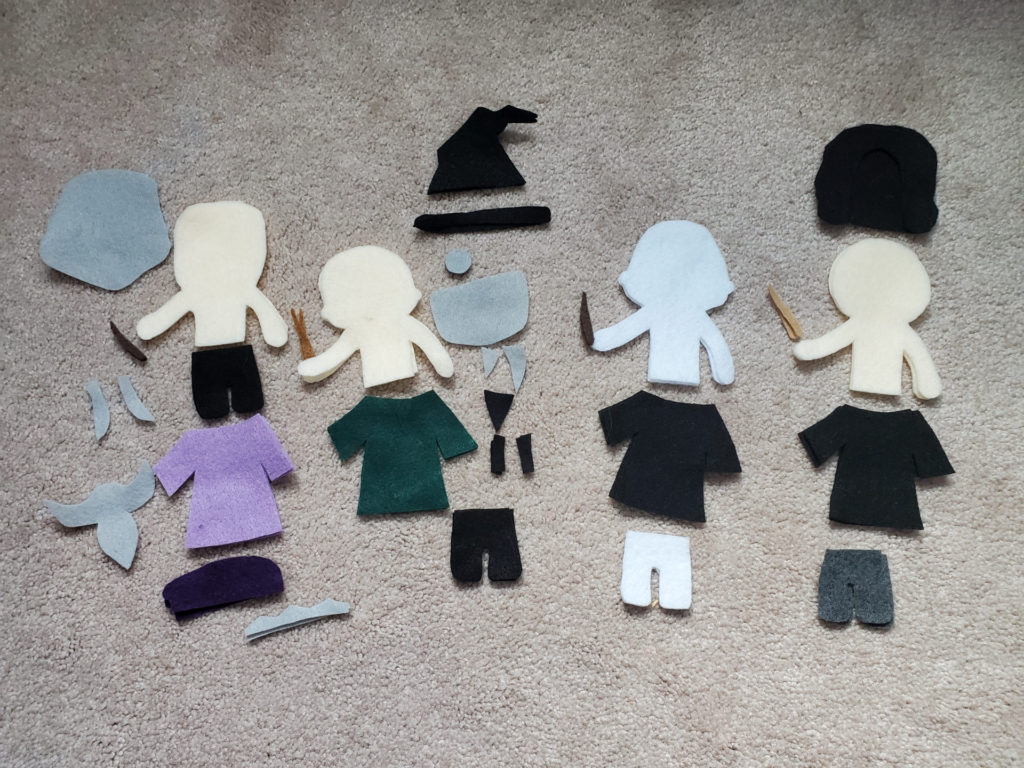
Step Two
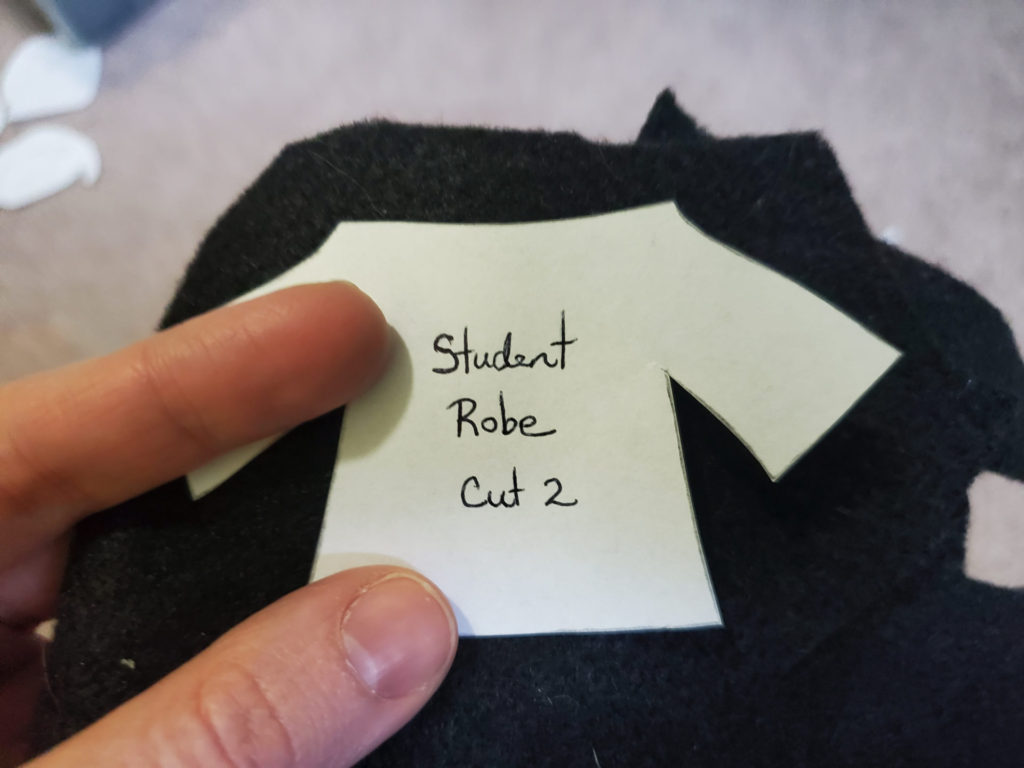
Using patterns as guides, cut out the pieces from felt. (Ignore the fact that I’m cutting out a student robe in the picture. You get the idea…)
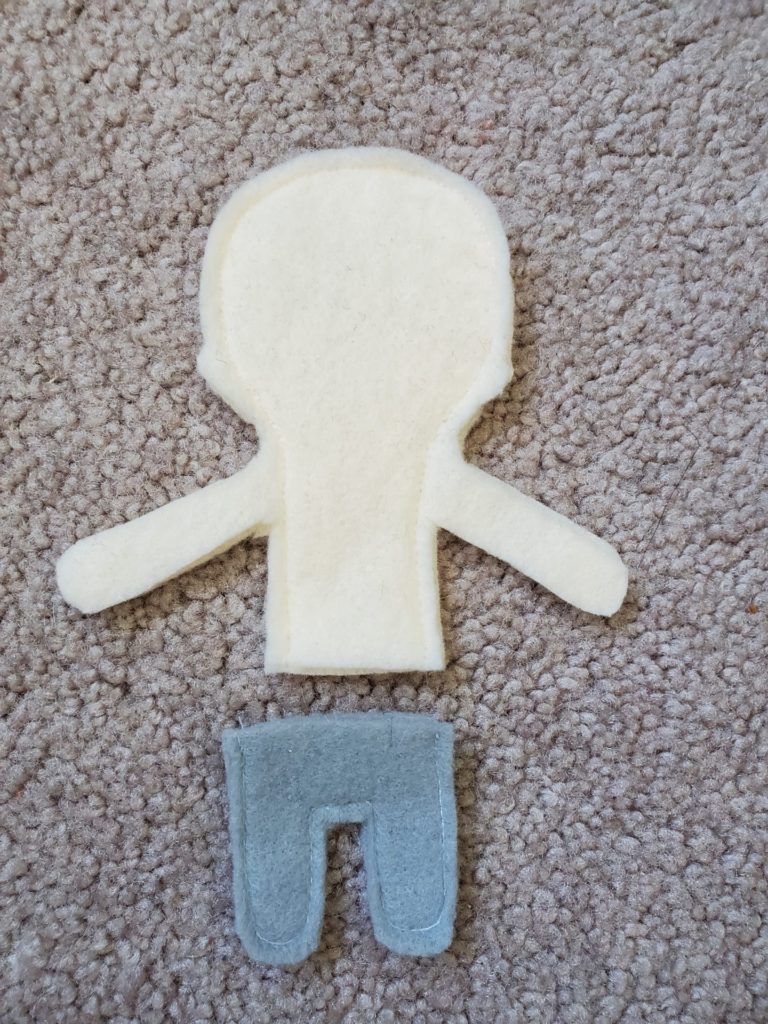
Step Three
Sew the body and the pant legs. You do not need to sew around the arms. They will mostly be covered by the robes, and they are too thin to be stuffed anyway. If you are great at intricate sewing, then go for it, but it’s not necessary.
Step Four
Stuff the body and the pant legs. Leave some room in the pants so it will be easier to attach the top to the bottoms.
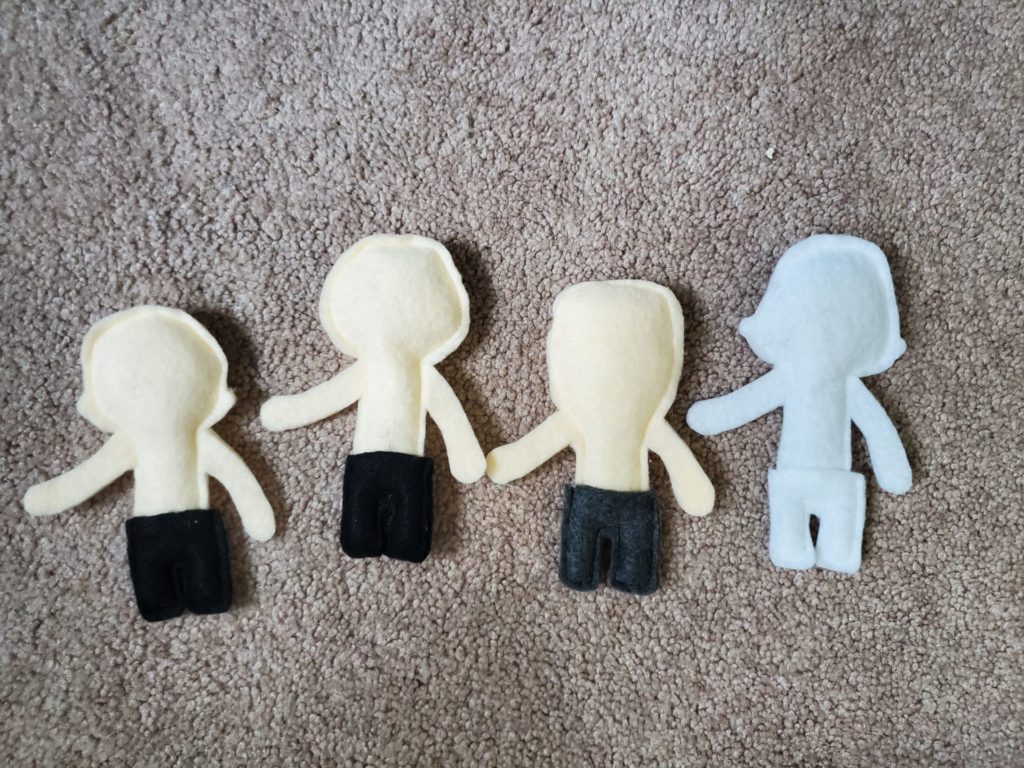
Step Five
Using a glue gun, glue the arms together, the ears, and attach the body to the pants.
Step Six
Glue on the robes, hair, hats, wands, and other accessories. Before attaching the wand, make sure to glue the two pieces together. It’s important to cut out two of the wands for added durability. Use the paper patterns to figure out placement for the different pieces, as needed.
Step Seven
Add on the finishing touches: the faces! Don’t forget to add the details to Dumbledore’s hat, as well as the little tie on his beard. I like to use acrylic paint for this. I apply with a stylus, but you can use a small brush, or even a toothpick for the fine details. If you aren’t feeling confident in the placement of the facial features, you can lightly draw them on first.
So there you have your professors and a very angry Dark Lord. Again, if you need a bit more direction, feel free to watch the video or leave a comment below.
If you are a confident seamstress, you can definitely sew more of the details on, particularly the robe and the hair. I do find that the hot glue holds really well once it is completely cool. If you don’t love sewing at all, you could definitely try gluing around the edges of the body and the pants. Let it cool completely before trying to stuff it.
2 thoughts on “Make Your Own Harry Potter Dolls: Professors and Voldy”