
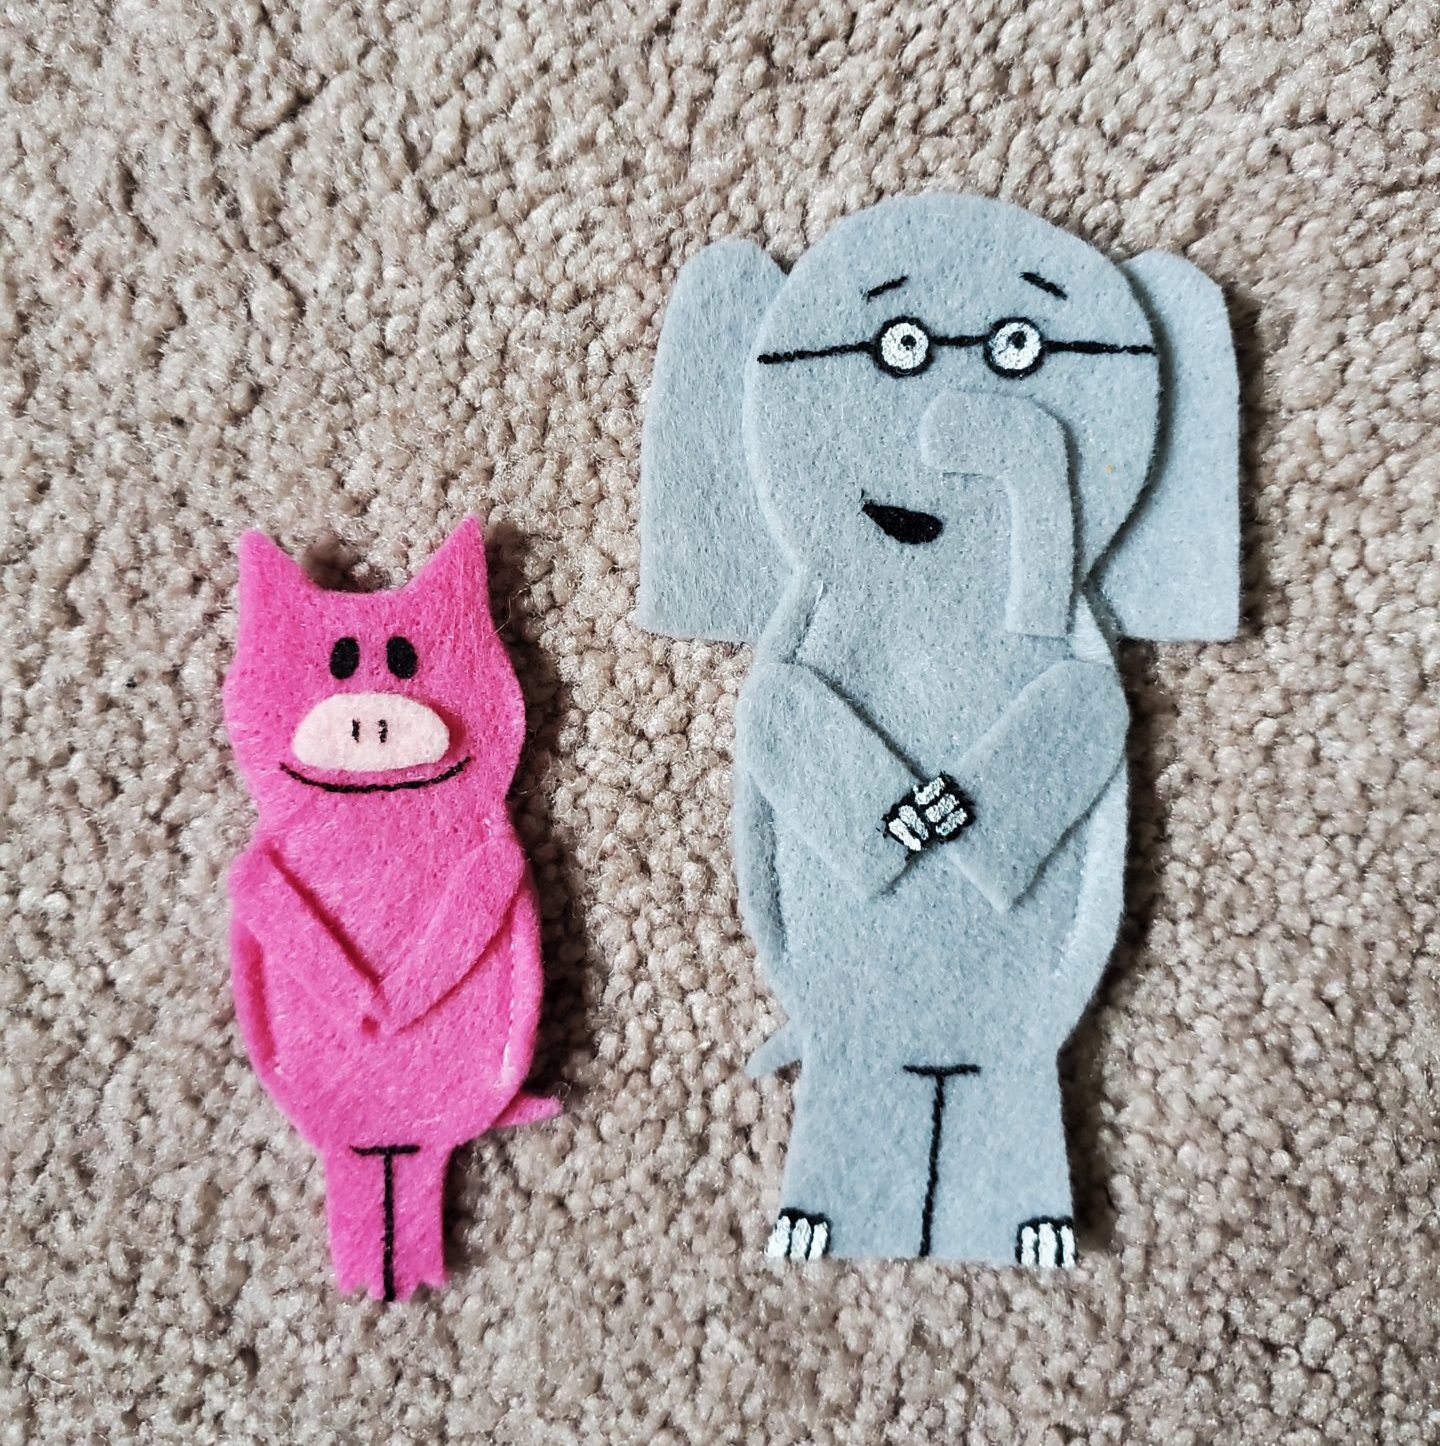
Our family absolutely loves the “Elephant and Piggie” series from Mo Willems. If you stumbled upon this link and you don’t know this series, then I would highly recommend checking them out at your local library, or buying 1 or 2 or 12 on Amazon (this link takes you to the box set, but there are plenty of individual ones you can buy). Gerald and Piggie are so fun! The stories are creative and the characters are adorable. I couldn’t resist making some Elephant and Piggie finger puppets so my kids could act out the stories with them.
Elephant and Piggie Patterns
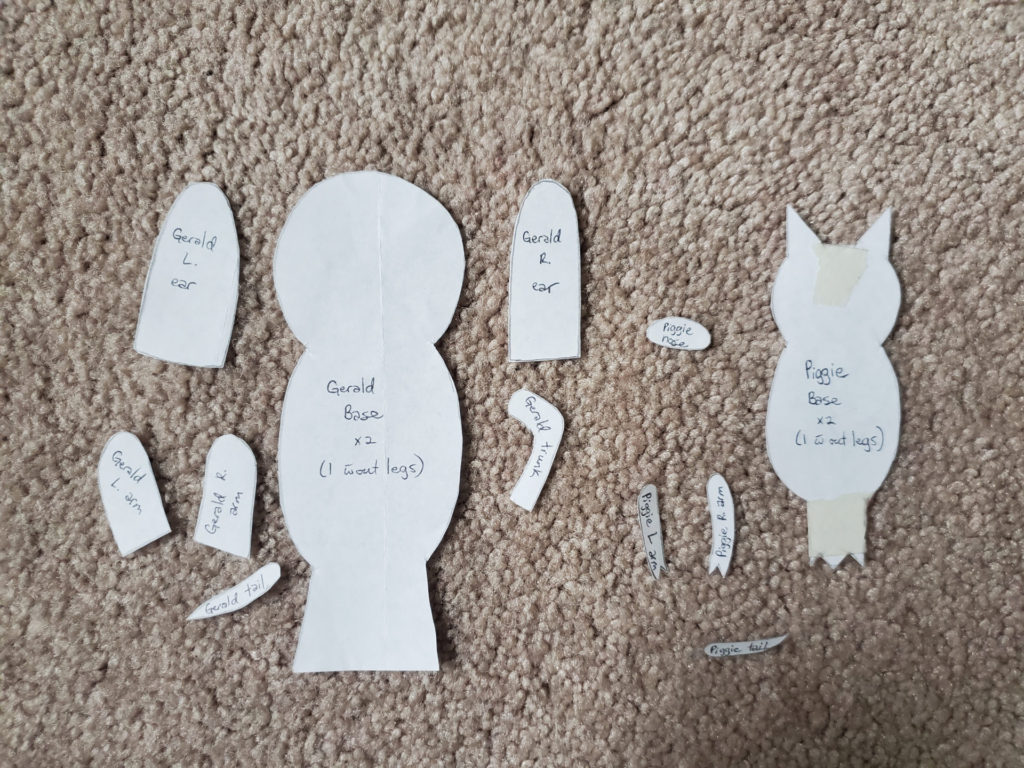
Below I have attached the pattern pieces for the two puppets. I also have the original drawings for them. Sometimes it is helpful to have the drawings in order to line up the pieces as you attach them.
Putting Together Your Elephant and Piggie Finger Puppets
Step One: Print and cut out your pattern pieces. I just use paper (as you can see from my picture, my patterns are well used and some are reinforced with tape). If you want something sturdier, you can transfer the patterns onto card stock or cereal box cardboard.
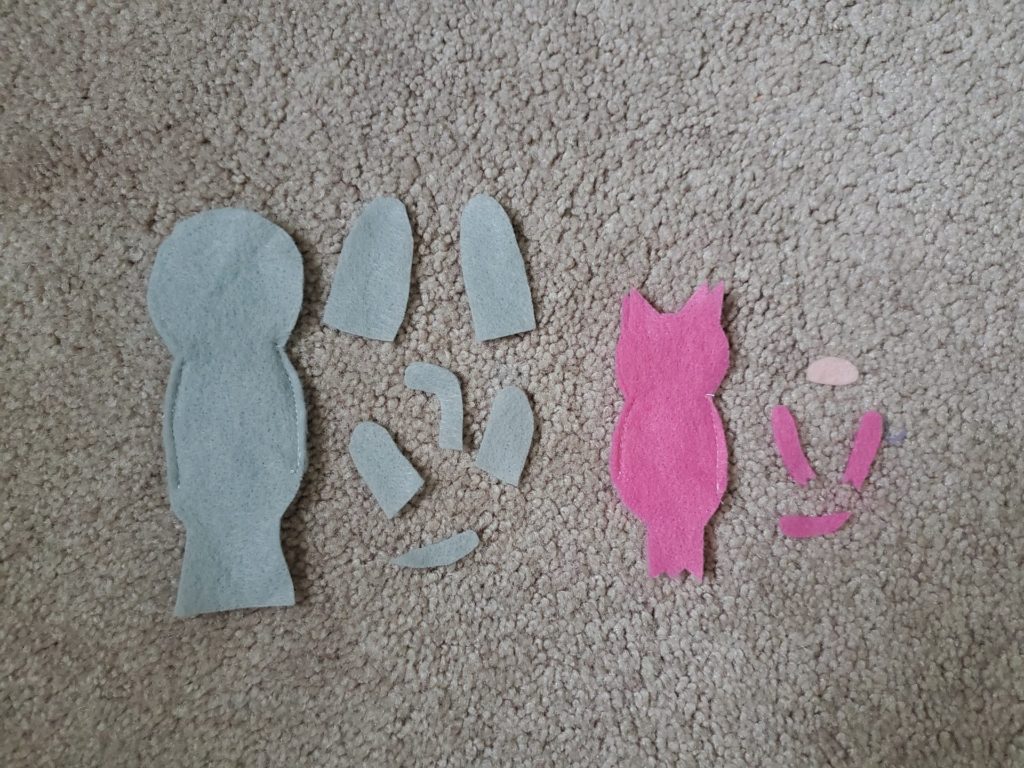
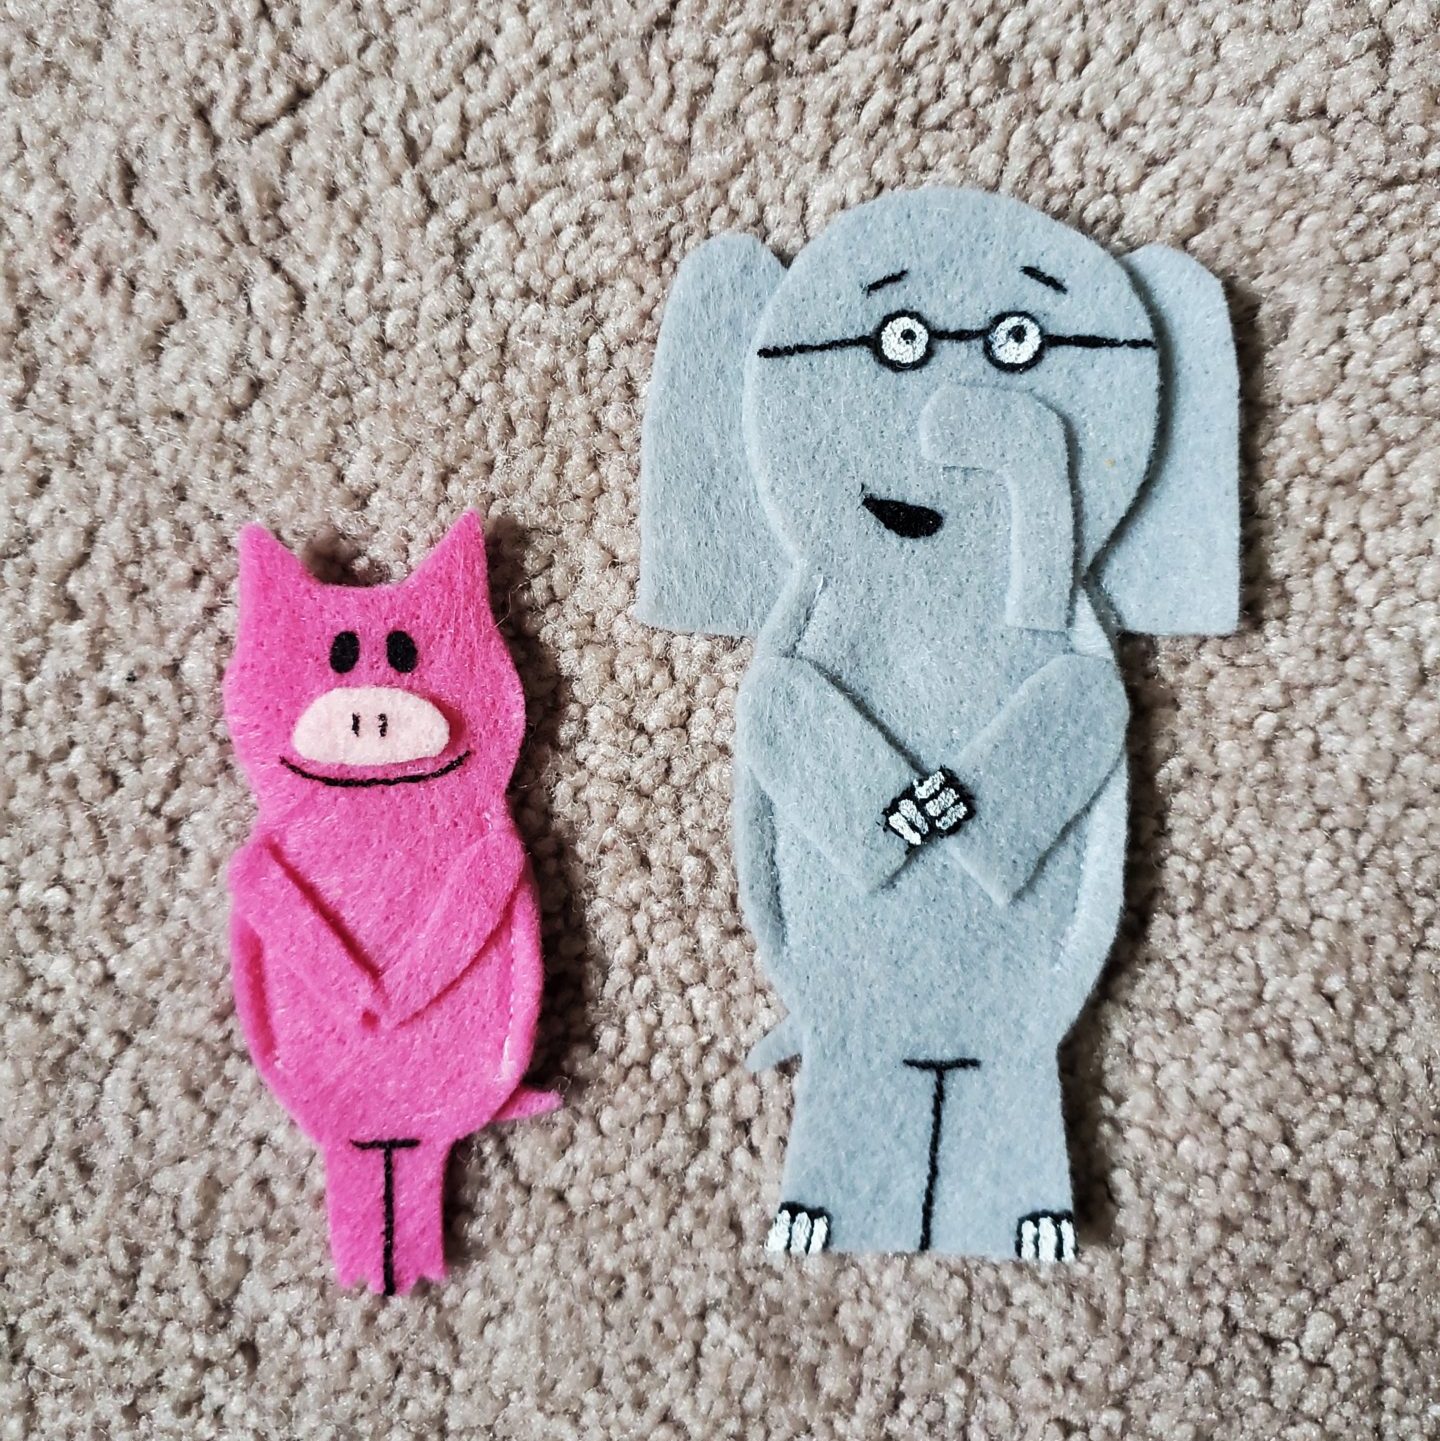
Step Two: Using the patterns as guides, cut out each of the pieces as noted on the pattern. Note that for the base, you need to cut out one that is the full pattern and one without the legs. Depending on the size of your fingers, you can determine how much of the second piece to cut off. The beauty of these characters is that they require very few colours. Gerald is only light grey and Piggie is a medium pink and a little bit of light pink for the snout.
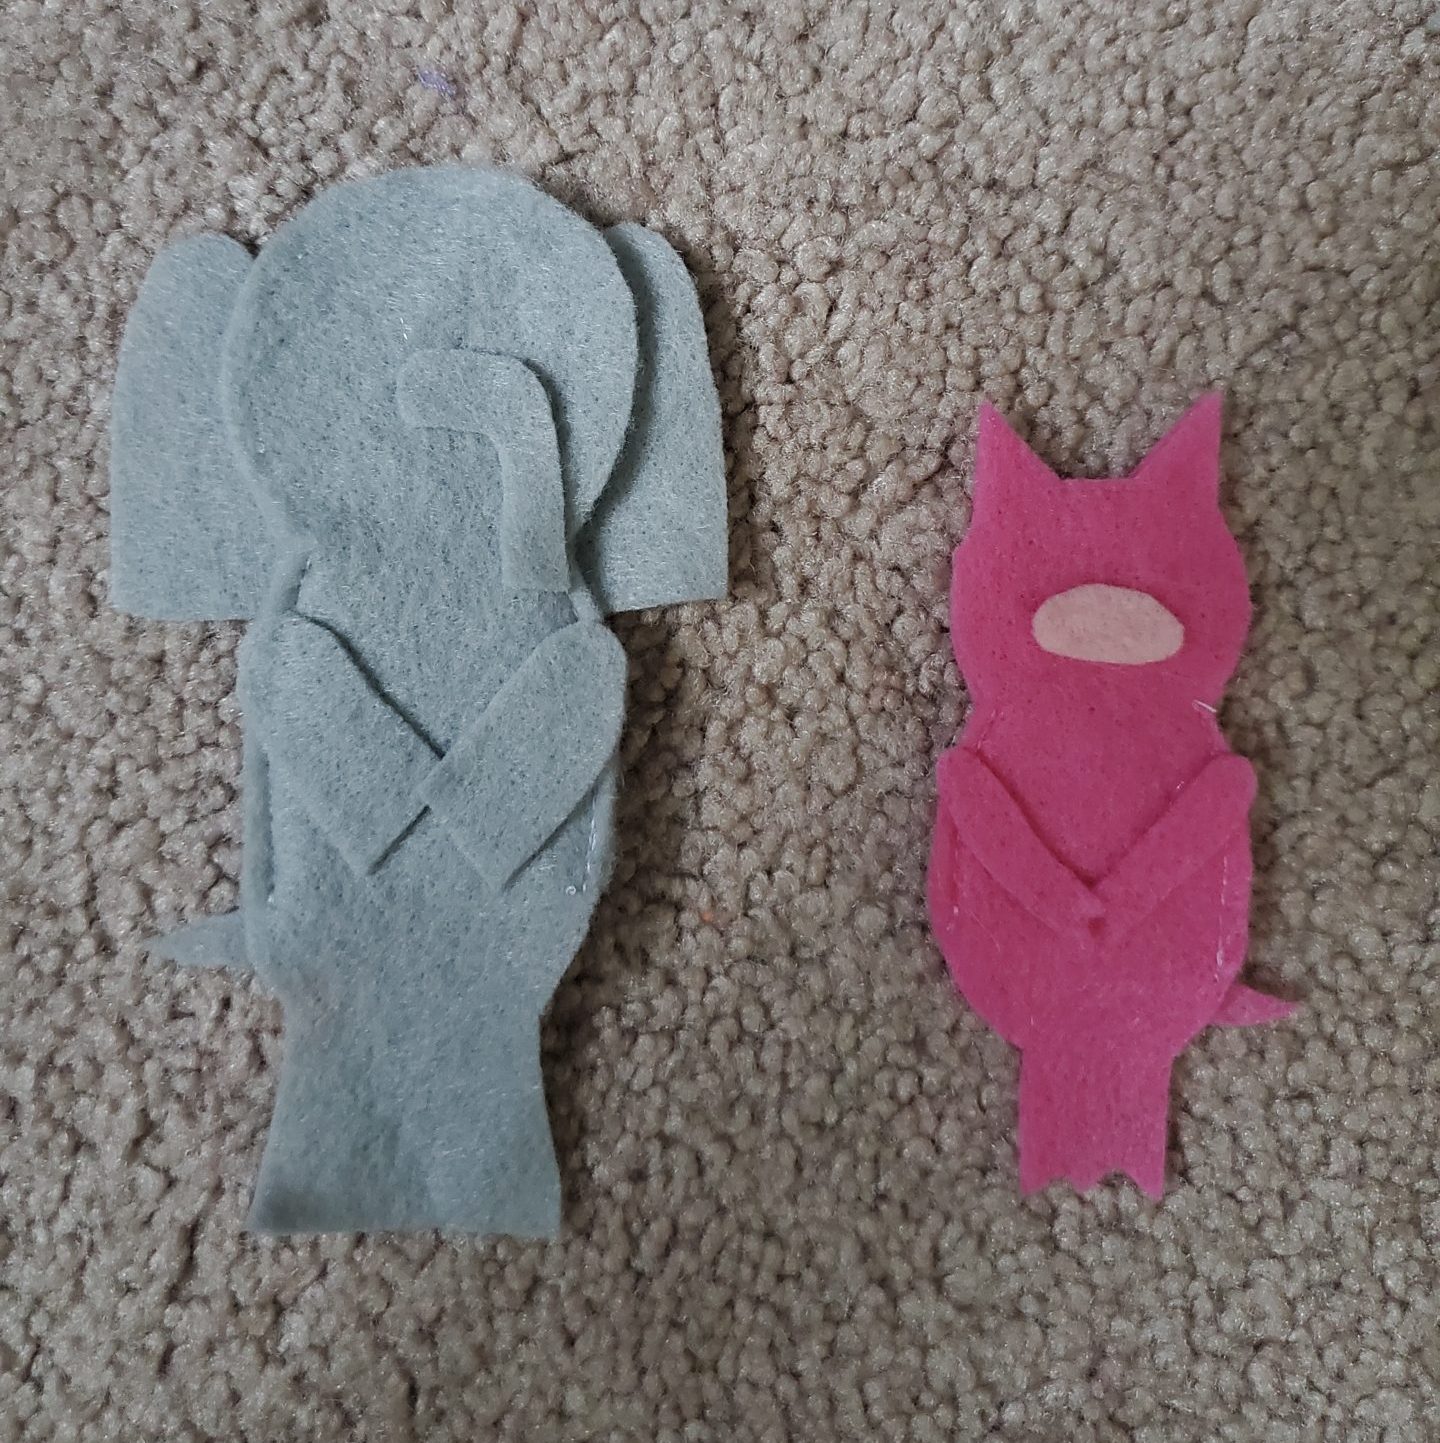
Step Three: Sew the bodies of the puppets. I like to sew only the sides because I find that when I’ve stitched the heads it takes away from the facial features. If you have awesome sewing capabilities and you prefer them sewn, go right ahead. If you are not a sewer at all, you can try to glue along the edges. Hot glue tends to bind felt really well.
Step Four: Glue the pieces onto the bodies. If you didn’t sew around the edges of the head, be sure to glue them securely. If needed, use the pattern pictures as a guide for piece placement.
Step Five: Using acrylic paint, add the faces, nails, and leg lines. If you are not confident with paint, you can give a fabric marker or permanent marker a try. You can even embroider the details.
Video
If you are unsure of any of the steps, or just need some more visuals, check out my video tutorial. Have fun playing with Gerald and Piggie!!!